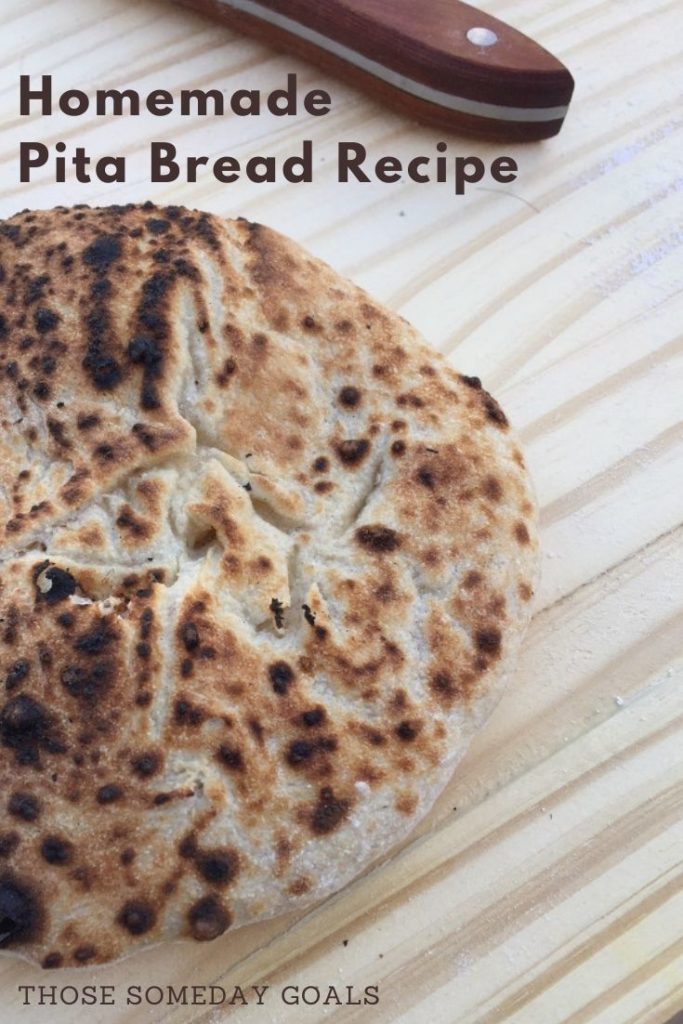
There are few breads we love more than homemade pita bread, and when Hasiba, an LA treasure, released a homemade pita bread recipe to make at home in 2020, Andy was on it. The pita is soft and chewy with a generous pocket when made in the oven, and we loved each and every flour experiment we tried. Finally, Andy seems to have cracked the perfect flour combo – so delicious after baking on a stone in a conventional oven or popping it into a blazing hot pizza oven. If you are intrigued, read on for Andy’s tweaks to Hasiba’s easy homemade pita bread recipe.

Homemade Pita Bread Recipe Ingredients
Serving: 6
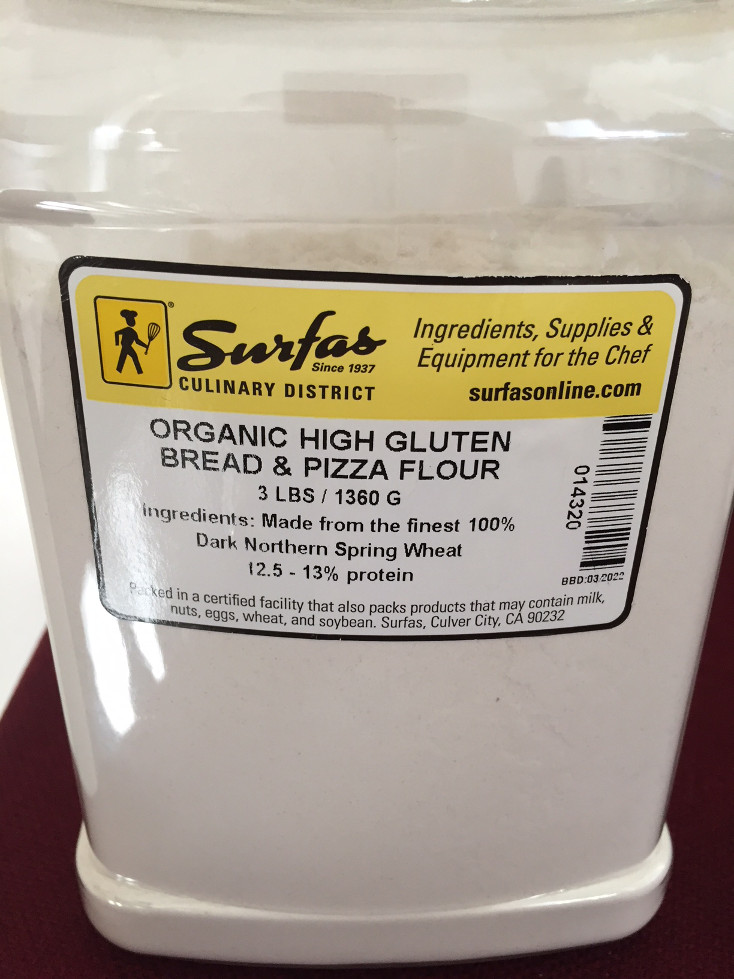
3 1/3 Cups Organic High Gluten Bread & Pizza Flour (Note: Andy swears that changing the flour from all-purpose to this high gluten pizza flour made a huge difference.)
3/4 Cups Sujata Gold Atta Sharbati Whole Wheat Flour (Note: Usually used in making soft Rotis.)
1 1/2 Cups Filtered Warm Water for the Flour
1/6 Cup of Warm Water to Activate the Yeast (Note: This amounts to 2 tablespoons and 2 teaspoons of water)
2 teaspoons active dry yeast
1/2 teaspoon organic sugar
About 3/4 tablespoons sea salt
Oil or cooking spray
Homemade Pita Recipe Steps
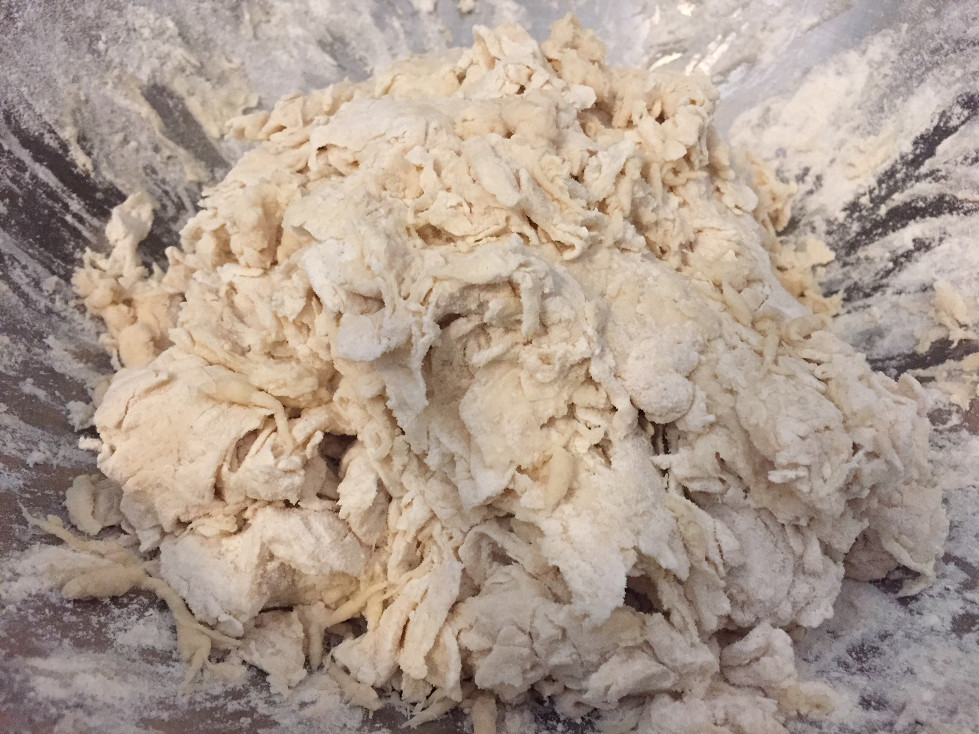
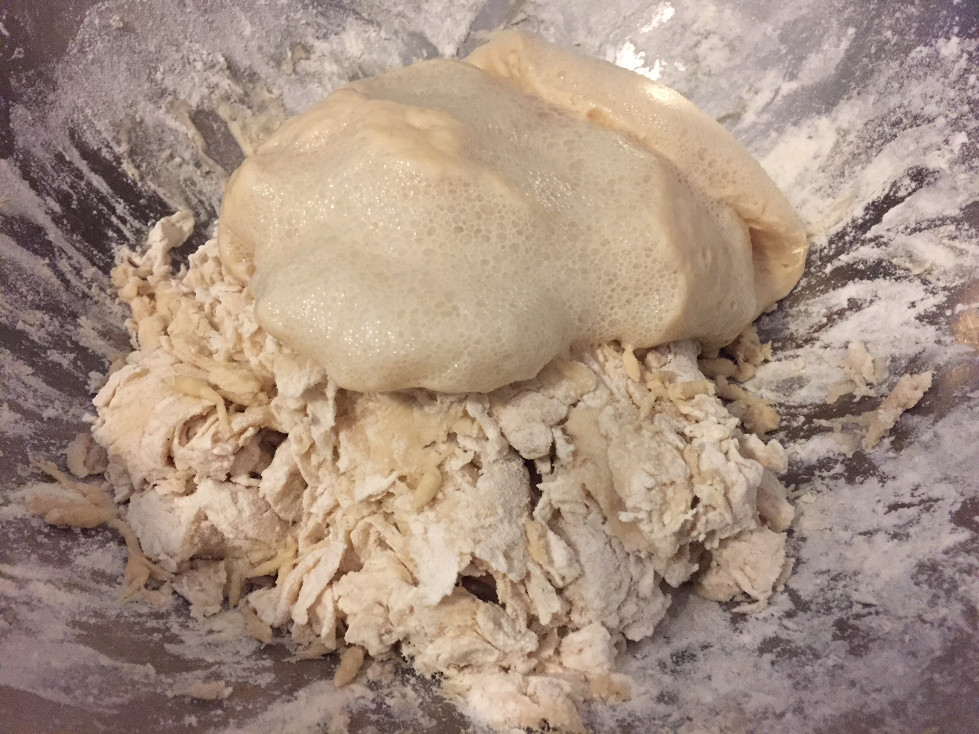
Step 1 In a large mixing bowl, add the pizza flour and the Sharbati whole wheat flour together and add 1 ½ cups of water. Work it together with your hands until it looks shaggy.
Then let it sit for 30 minutes. Note: This is critical. When you autolyze, you allow the flour to fully hydrate, which enables the gluten to form with minimal effort and provides a much richer taste.
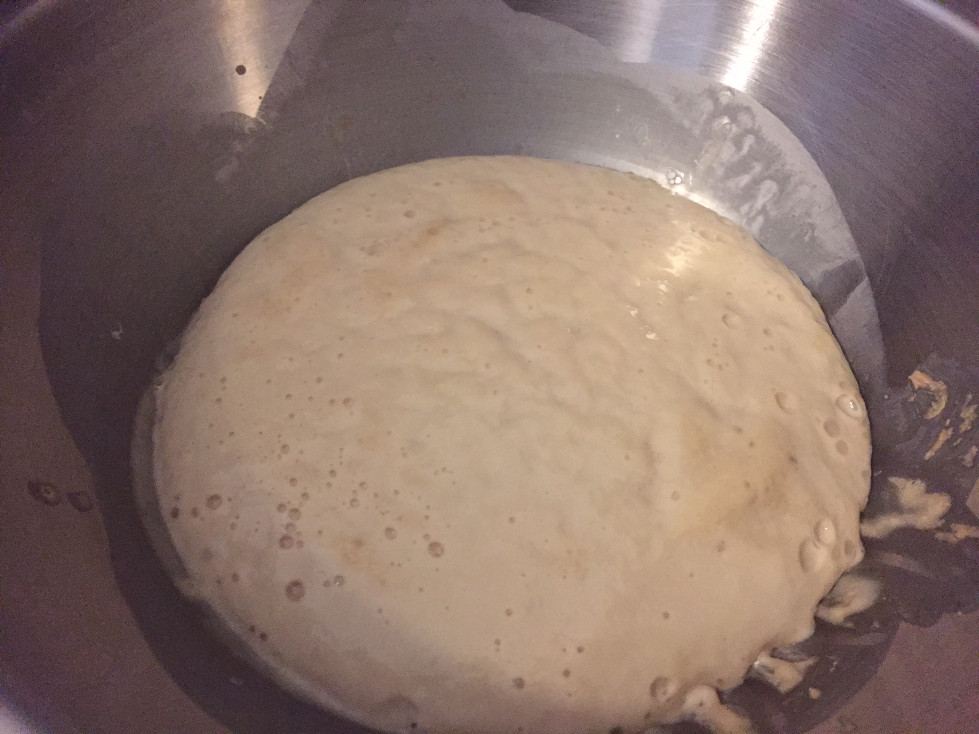
Step 2 In a smaller bowl, put your active dry yeast and sugar into the 1/6 cup of warm water to activate. It will bubble up and get nice and frothy within a few minutes.
Step 3 Pour the yeast mixture on the dough and add the salt to the other size. It’s not critical to keep the salt and yeast apart at this point because the yeast has already been activated. Work the dough together gently until it is smooth, and set it aside again for another 30 minutes.
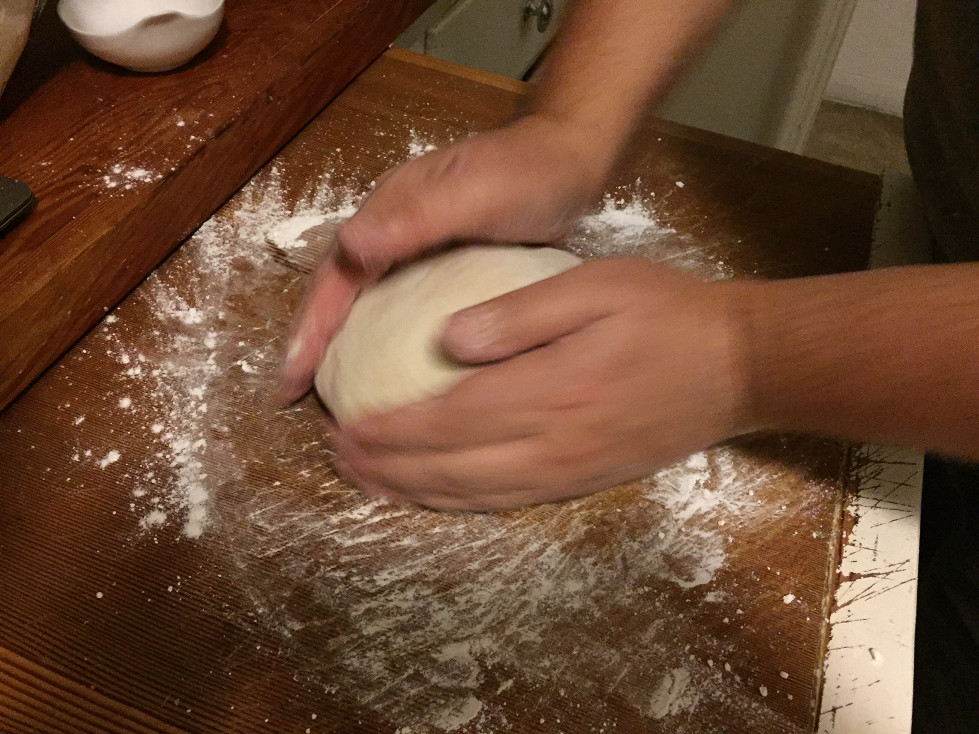
Step 4 Build structure by working the dough with your hands. Some people like to fold the dough over on itself for a minute to get the gluten to start forming. Set the bowl aside again for another 30 minutes.
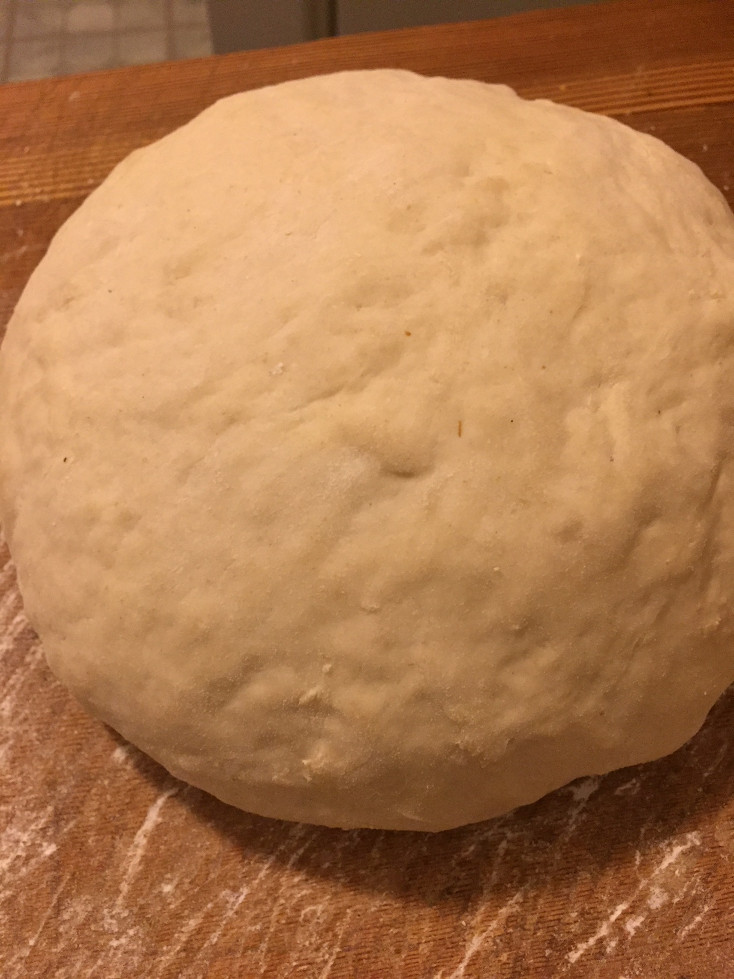
Step 5 Andy turns the dough out onto a lightly floured surface to start cutting the dough into individual pita dough balls. He uses a bench scraper, but you can pull them with your hands. He tries to hit the 5-ounce mark, but it’s not a big problem if they are a little more or less. Significant differences in weight will result in different bake times.
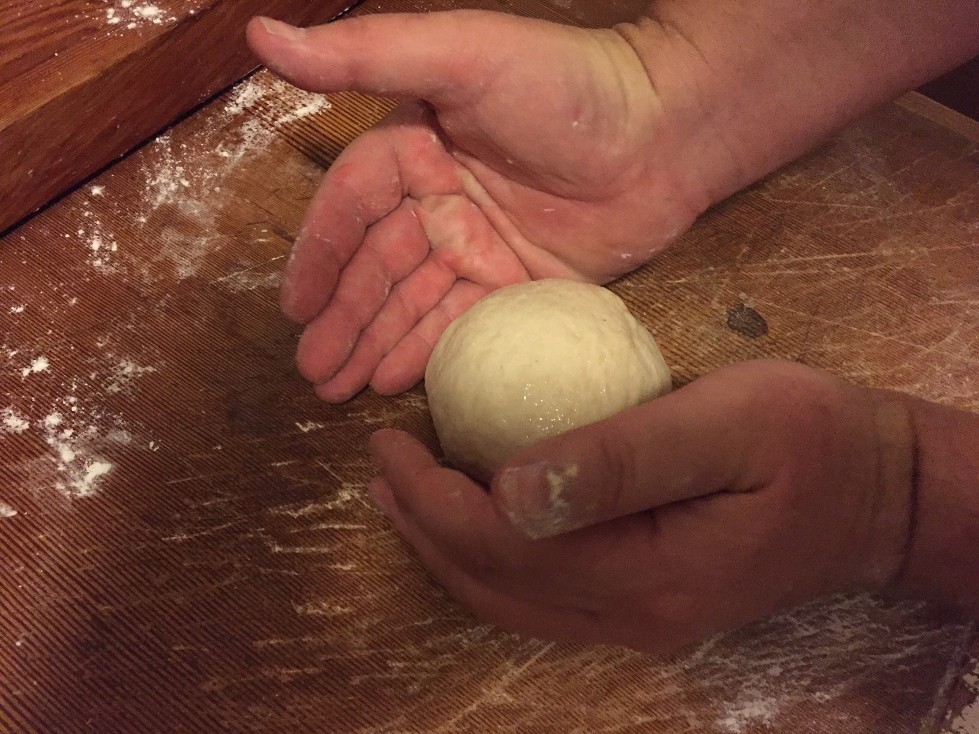
Step 6 Round the dough gently and place them on a cooking sheet or in a square cake pan. Basically, anything that can fit the dough balls with some space between and squeeze into your refrigerator.
Step 7 Spray the pita bread dough balls lightly with olive oil or cooking spray and cover with cling film.
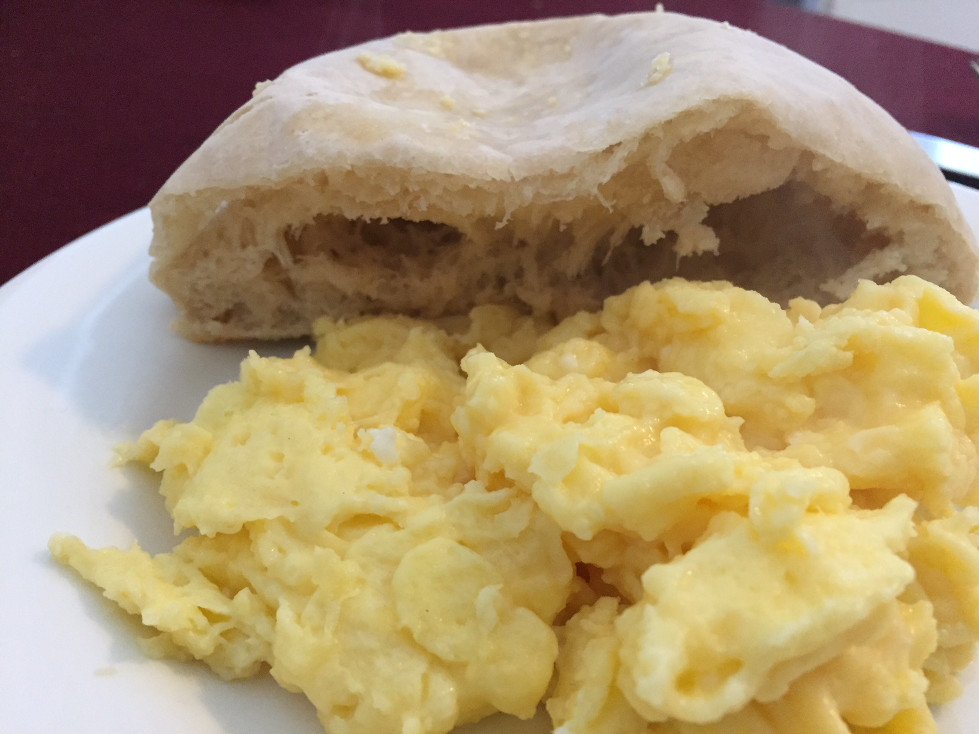
Step 8 Refrigerate overnight. We typically use the dough within 48 hours and always start baking two of them for breakfast the next morning. On one occasion, we kept some dough in the refrigerator for four days, but it began to have a slightly sour taste – not bad, but not what we were going for.
In a conventional oven:
Step 9 Place your pizza stone or other baking stone onto the bottom-most rack of the oven and preheat to 500 degrees F.
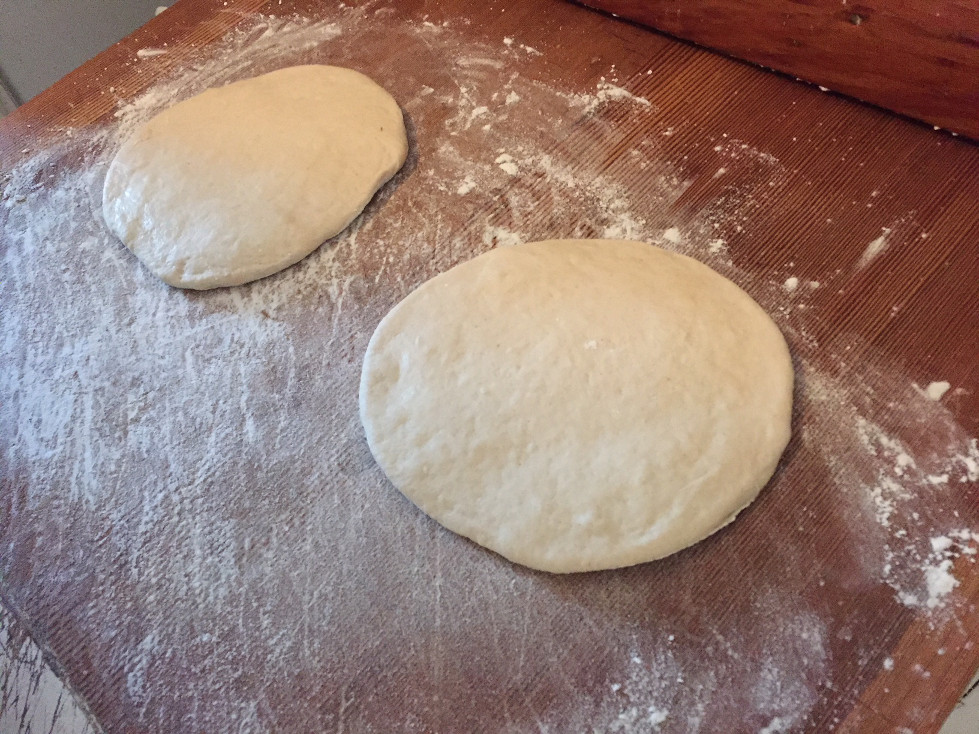
Step 10 Roll the pita dough out on a lightly floured surface. We shoot for a 5-inch circle, but they don’t have to be exact. We make two at a time.
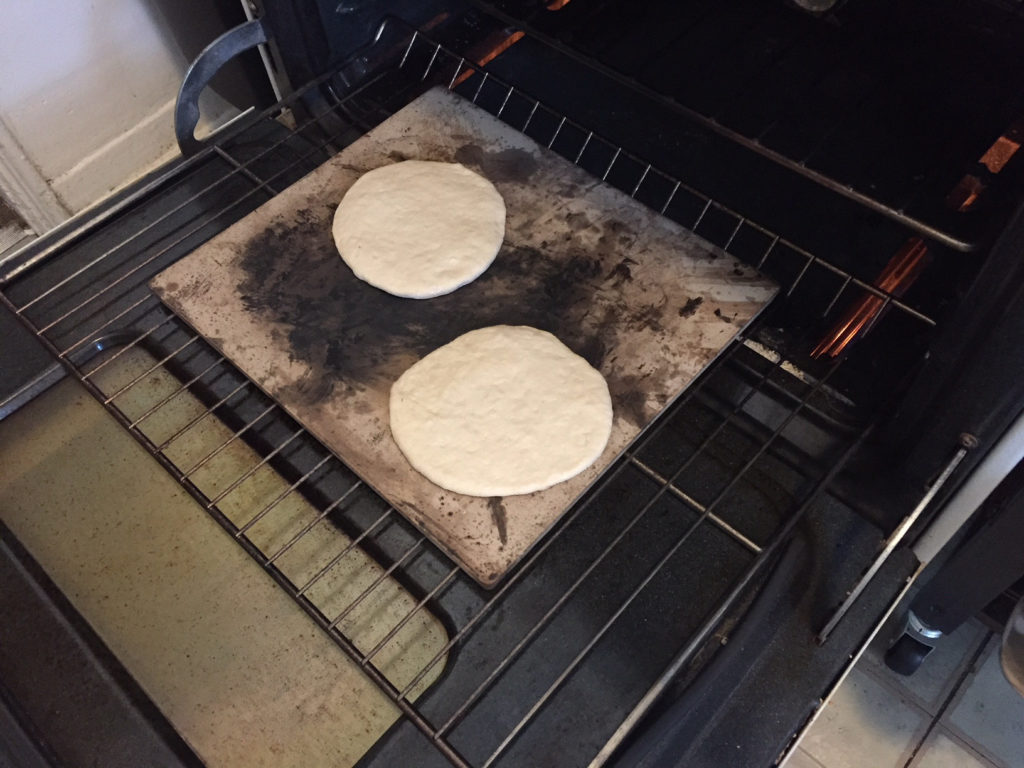
Step 11 Set the rolled pita dough circles onto the stone and bake the pita. This happens very quickly – approximately 2 to 3 minutes. You’ll see it puff up and start to lightly color. This flour combination does not brown a lot, so don’t wait for that.
Step 12 Pull out of the oven using tongs or a peel and set them aside to cool while baking the rest of the pita bread.
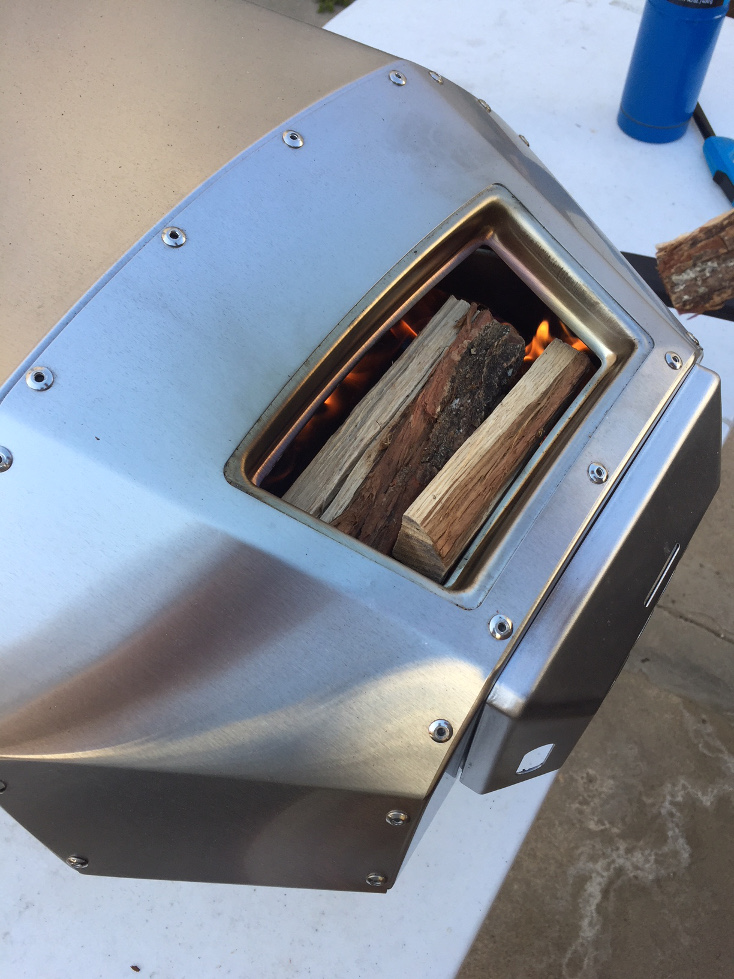
In a pizza oven:
Step 9 Add the wood or other fuel source to the pizza oven. We got ours up to 900 degrees but backed off a little and put the pita on the pizza oven stone at between 750 degrees F and 775.
Step 10 Roll the pita dough out on a lightly floured surface. We shoot for a 5-inch circle, but they don’t have to be exact. We make two at a time.
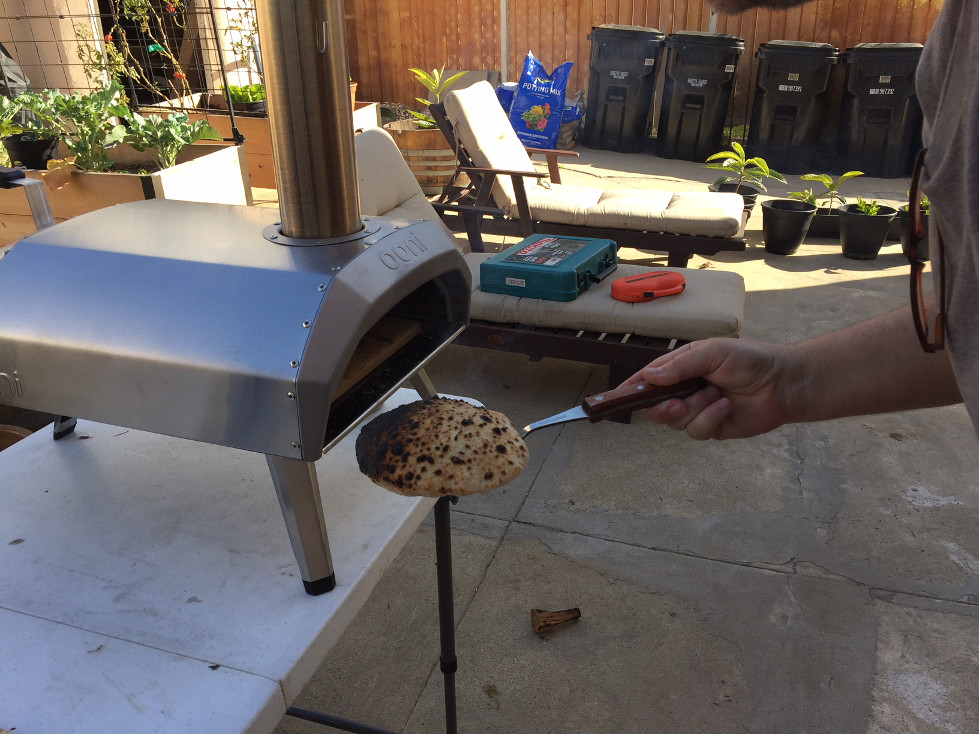
Step 11 Set the rolled pita dough circles onto the stone in the pizza oven and bake the pita. This will happen extremely fast. I think we had a baked pita in less than 60 seconds. We didn’t have a peel when we first did it, so we didn’t turn it, but we didn’t need to.
Step 12 Pull out of the oven using tongs or a peel and set them aside to cool while baking the rest of the pita bread.
Warning: We only had a long fork when we tried using the pizza oven. It worked, but you must keep your hands steady. The first time, we pulled the pita out, but Andy’s hand bumped upward slightly and caught the end on the flame above it in the oven. It got a little singed, but it was still delicious.
Homemade Pita Bread Recipe Thoughts
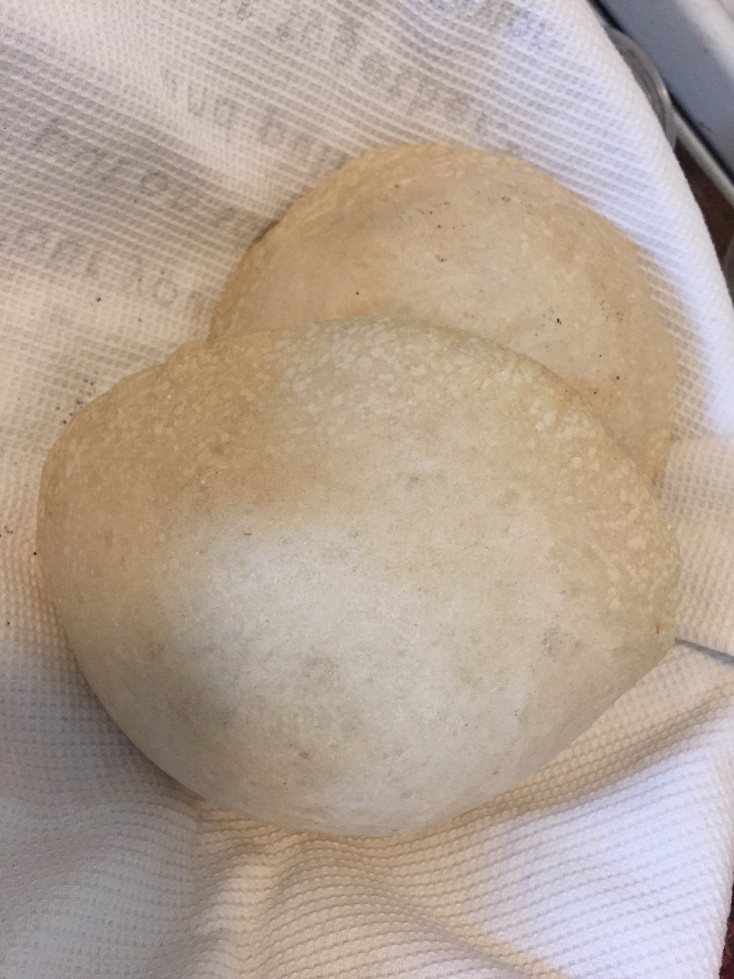
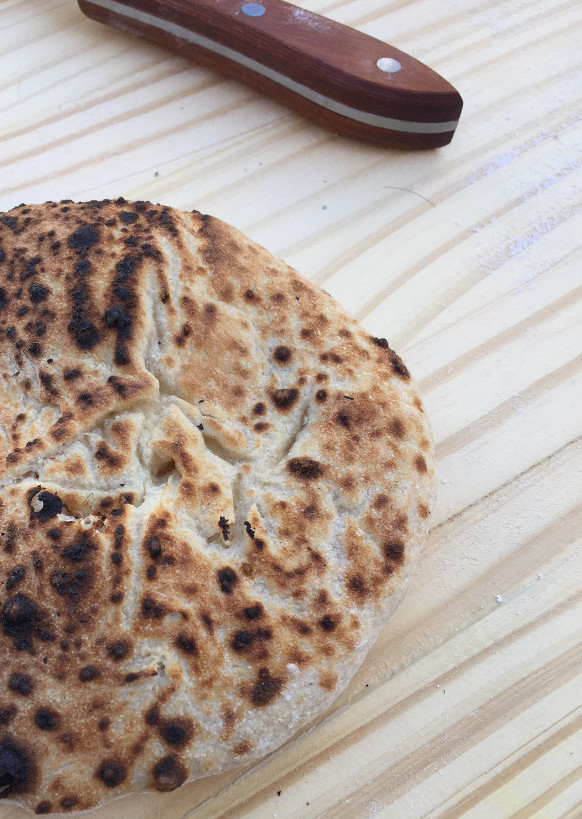
Which made better pita, the conventional oven or the pizza oven? So hard to judge. The pita bread recipe made in the standard oven turned out soft, chewy, and well-pocketed – perfect for stuffing. The pizza oven produced a wonderfully flavored pita that was also chewy. We loved the wood-smoked taste, but the pita is flatter, and the pocket is less defined, so we probably wouldn’t stuff it. It’s more of a folded pita sandwich or triangles for hummus. So, it really depends on what you want the pita for. I think we’re giving a slight edge to the pizza oven because of the wood-smoked flavor, but we really do love them both.
And now that we have a proper peel, we can’t wait to make more pita and pizza soon!
For more food and wine discoveries and recipes, click here.