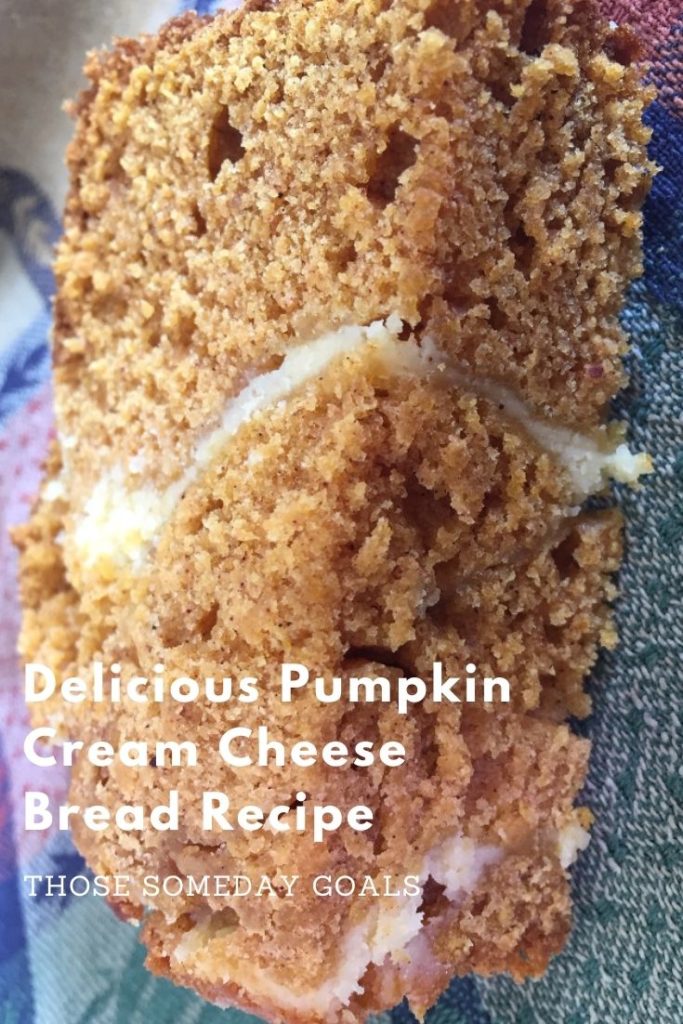
My husband is a big fan of pumpkin loaves during the fall, so when we found ourselves with some extra pumpkin puree, he suggested a pumpkin cream cheese bread recipe. I wasn’t convinced at first because I thought the cream cheese filling would make it hard to bake all the way through, but I was happily wrong. So, if you already love the standard loaf with all of its cinnamon and nutmeg goodness, read on for what might be my favorite pumpkin cream cheese bread recipe yet.

Ingredients for the Cream Cheese Filling
6 Ounces Softened Cream Cheese (Note: It’s almost not enough. In fact, I’d be tempted to try 8 ounces for thicker layers)
3 Tablespoons Sugar
1 Large Egg Yolk
1/4 Teaspoon Pure Vanilla Extract (Note: I use double-strength Penzeys. If you are using standard vanilla extract, you might want to bump this up to ½ teaspoon)
Ingredients for the Pumpkin Bread
Dry Ingredients
1 3/4 Cups Flour
1 Cup Sugar
1 Teaspoon Baking Soda
2 Teaspoons Cinnamon
1/2 Teaspoon Nutmeg
1/2 Teaspoon Salt
Wet Ingredients
1 Cup Pumpkin Puree
8 Tablespoons Melted and Cooled Unsalted Butter
1 Large Egg
1/3 Cup Whole Milk
1 Teaspoon Vanilla Extract
Note: You’ll need 3 large bowls for the various stages, so set them out before starting. If you don’t, you’ll end up swearing a lot, just like I did.
Pumpkin Cream Cheese Bread Recipe
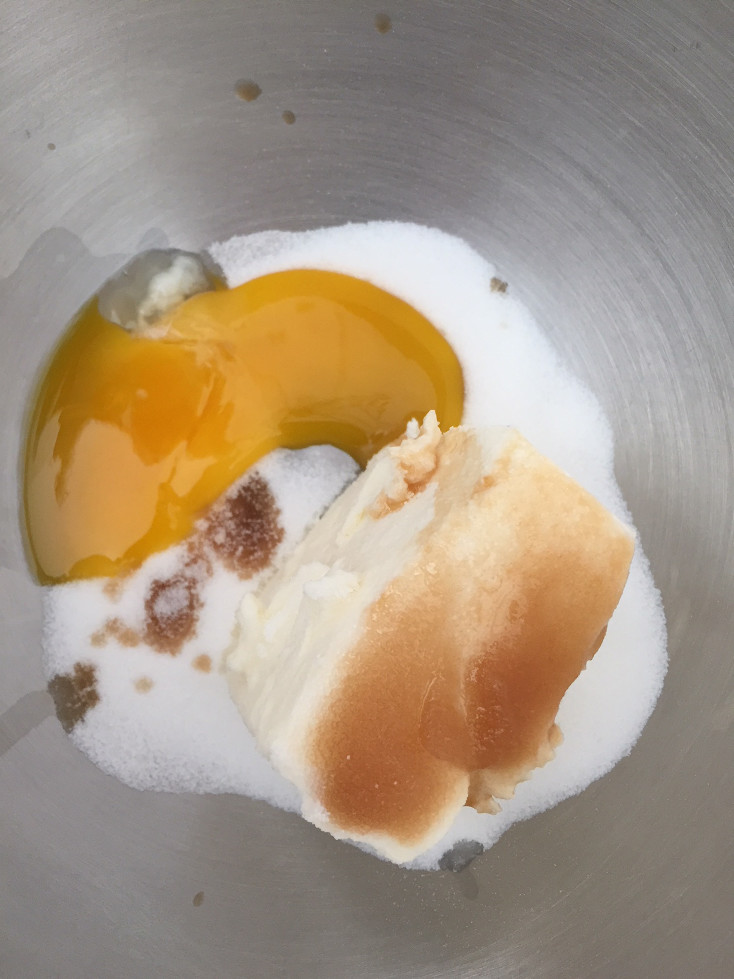
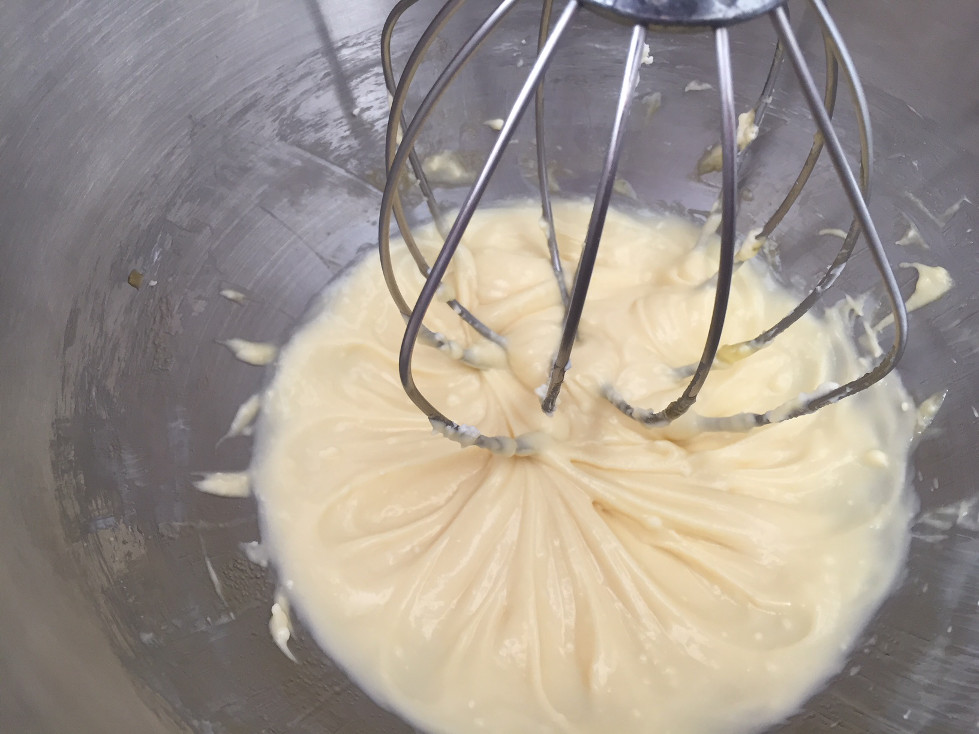
Step 1 Blend together the softened cream cheese, sugar, egg yolk, and vanilla extract in a mixing bowl until all the lumps are gone.
(Note: I used the #4 setting on my KitchenAid stand mixer). You won’t be using this until you are ready to layer and bake, so feel free to set it aside to clear your workspace.
Step 2 Preheat the oven to 350 degrees F
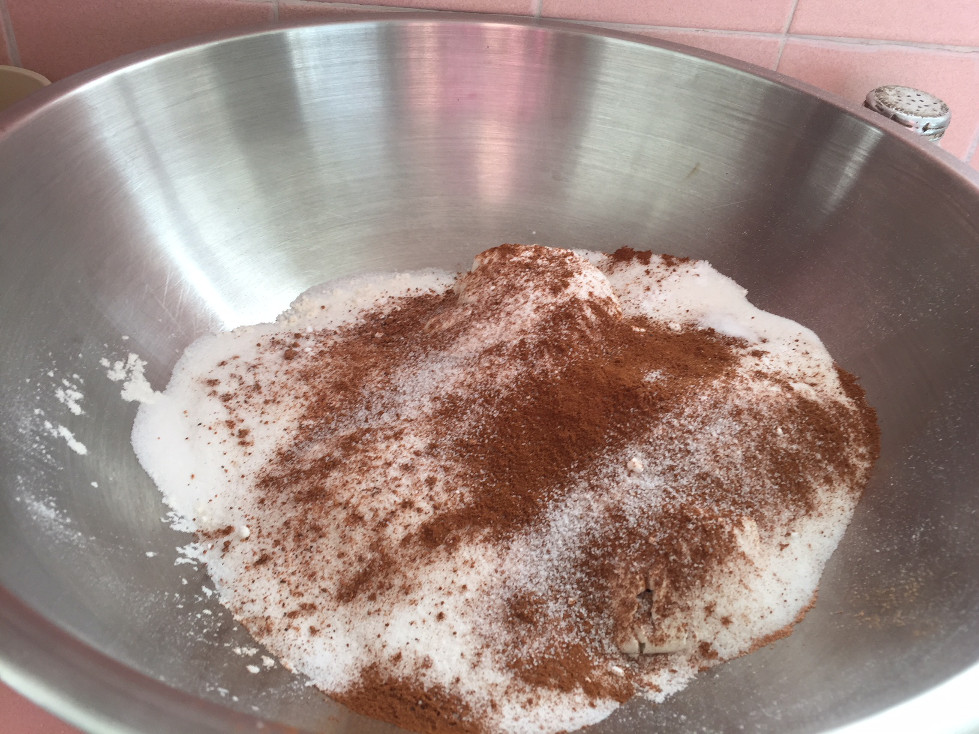
Step 3 Grab a large bowl and whisk together your dry ingredients: Flour, Sugar, Baking Soda, Cinnamon, Nutmeg, and salt. Set that aside, as well.
(Note: You’re probably thinking that smells like a lot of nutmeg – you aren’t wrong, but I’ve found that the nutmeg flavor gets lost a bit when I’ve used any less than this.)
Step 4 Grab another large bowl and fill it with the pumpkin puree, completely melted butter (cooled), egg, whole milk, and vanilla extract.
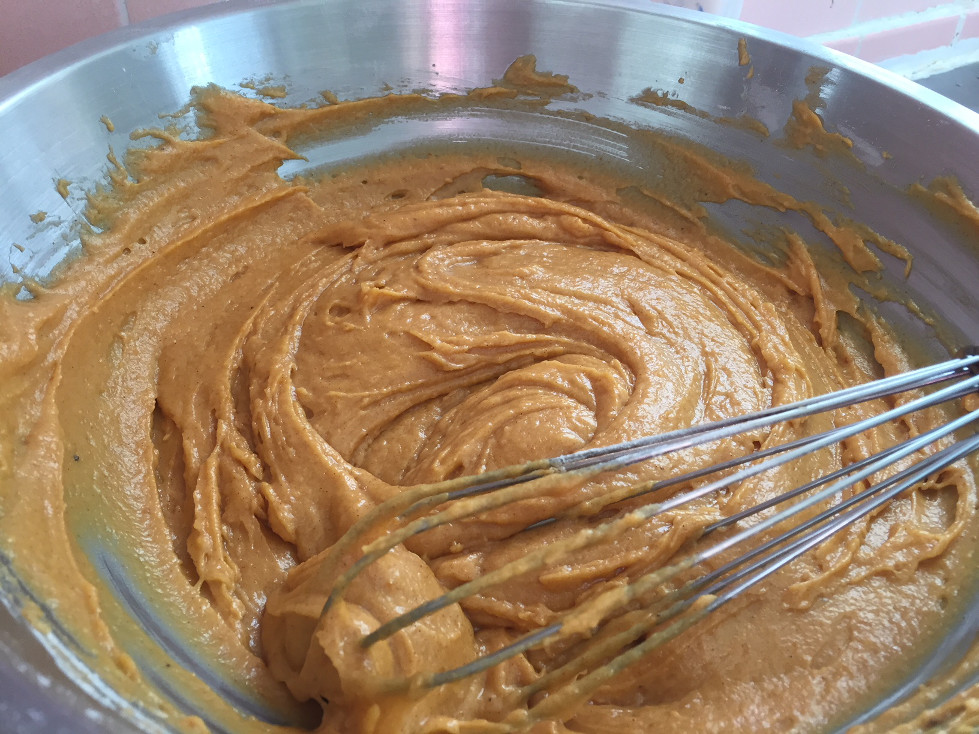
Step 5 Mix until the ingredients are thoroughly blended. You can do this by hand, in the mixer, or using a hand mixer. Whatever works for you.
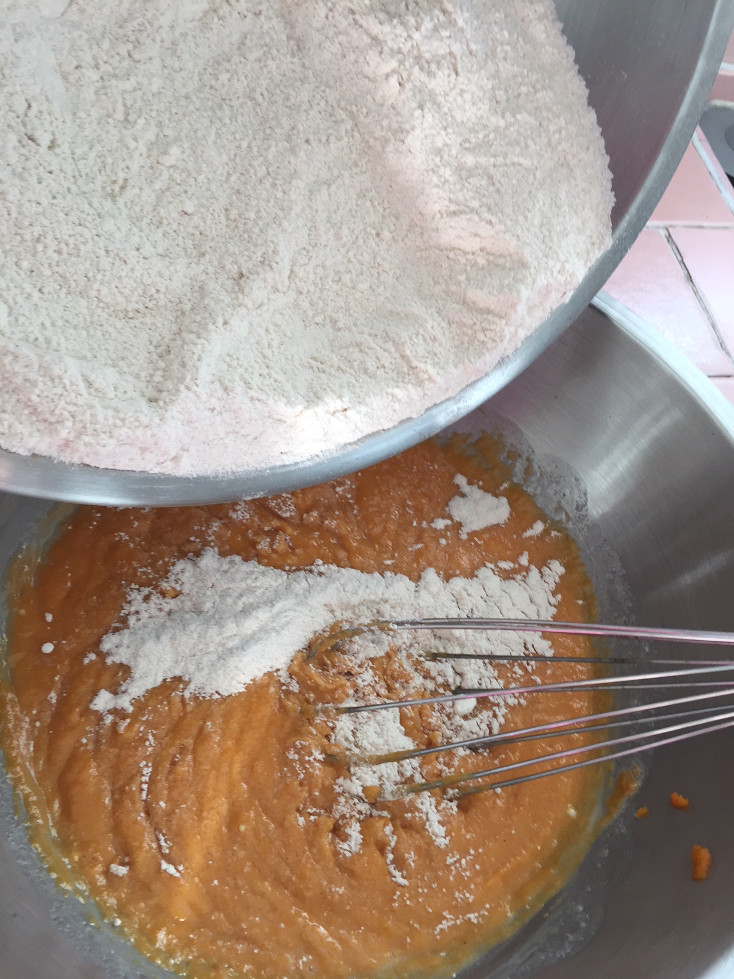
Step 6 Slowly begin to add the dry ingredients into the wet ingredients bowl. I did this mix by hand, but if you use a hand mixer or stand mixer, be careful to do it at a slow speed and to not overmix.
(Note: I stopped mixing once the streaks of flour had disappeared.)
Step 7 Spray a standard 9×5 inch loaf pan with cooking spray (or grease with butter).
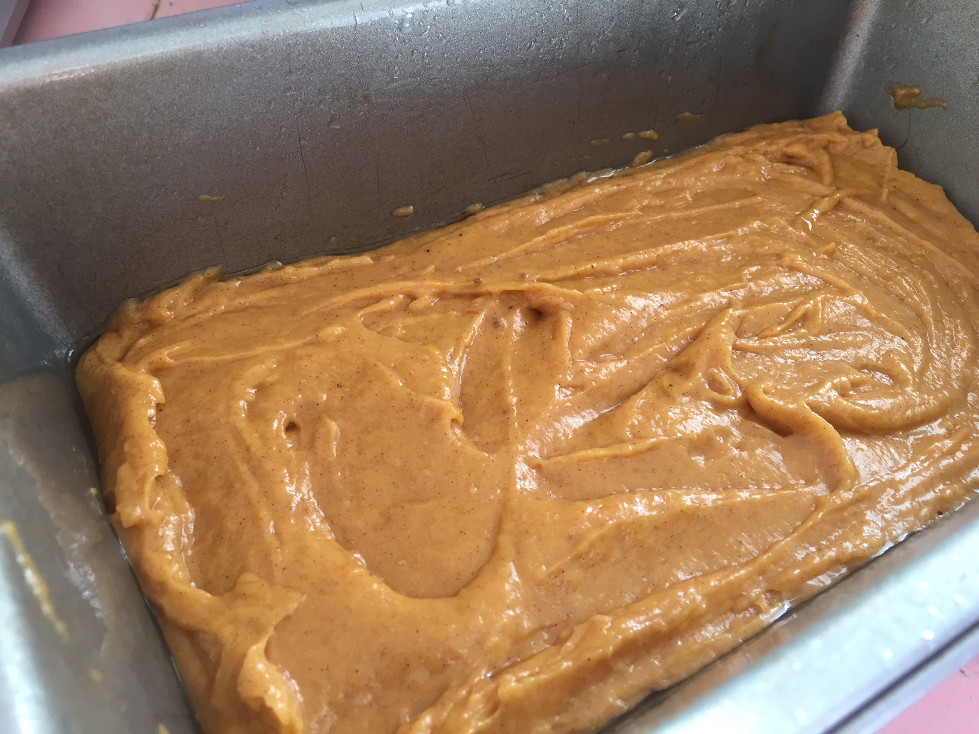
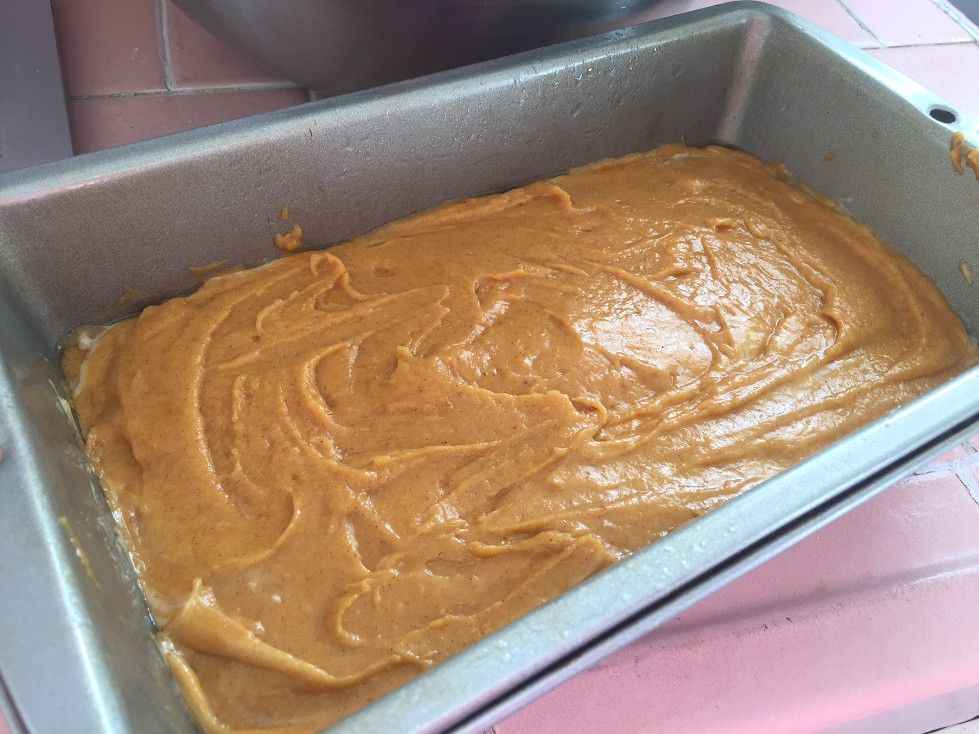
Step 8 Create a pumpkin batter layer on the bottom of the prepared loaf pan (it should roughly amount to a third of the batter).
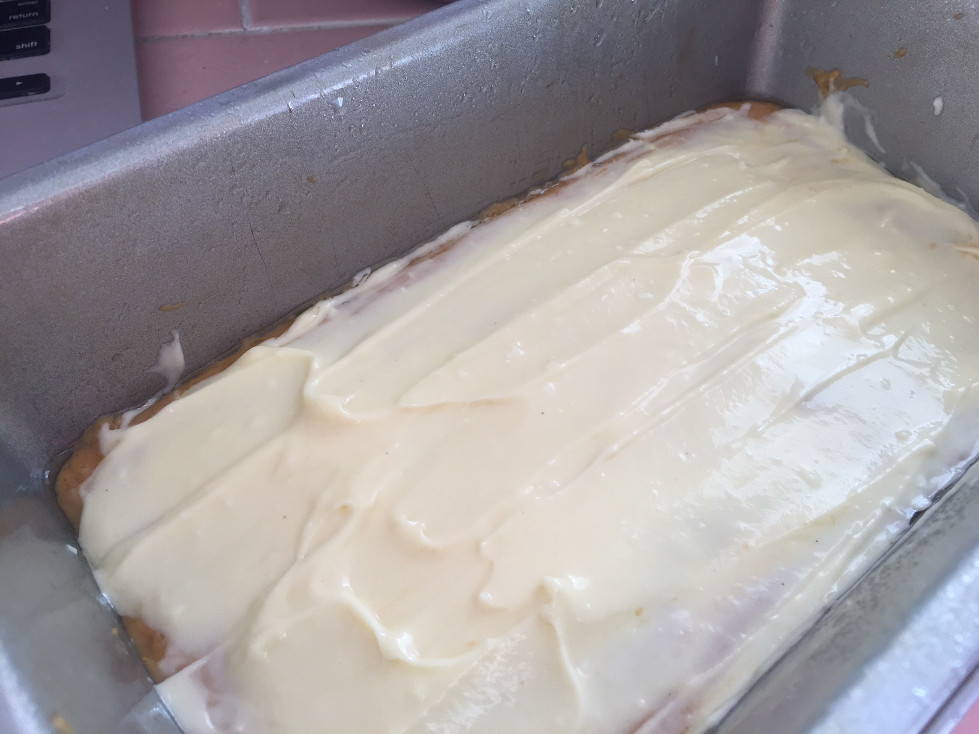
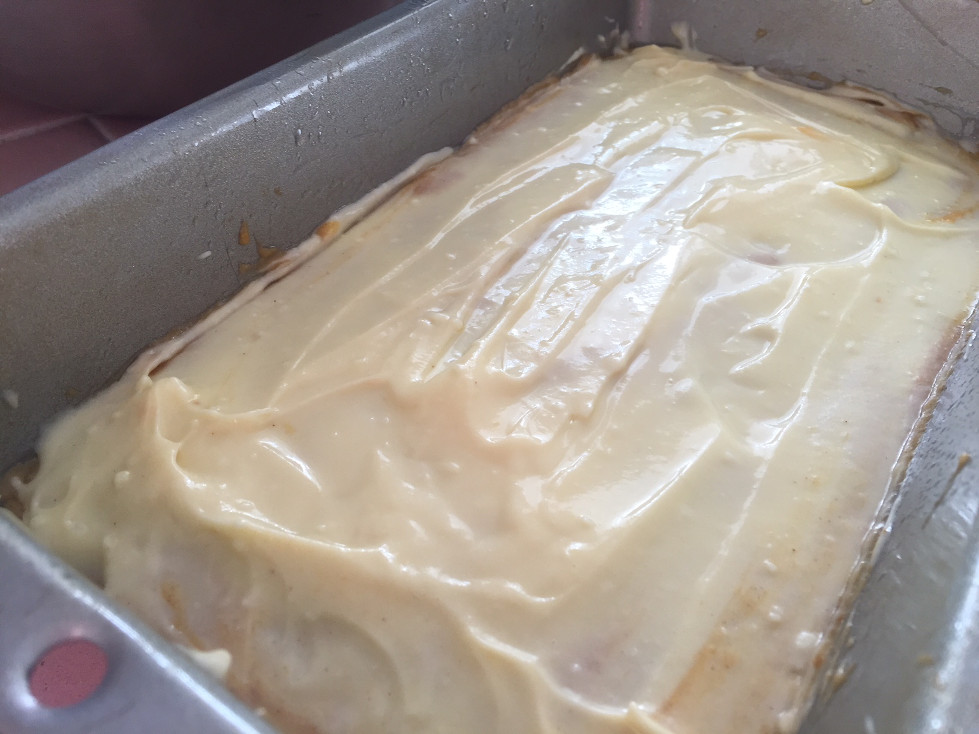
Step 9 Add a layer of cream cheese filling on the top of the pumpkin layer (it should be roughly half of the filling).
Step 10 Add another layer of pumpkin batter (roughly another third of the batter).
Step 11 Spread the remaining cream cheese filling on top of the last pumpkin layer.
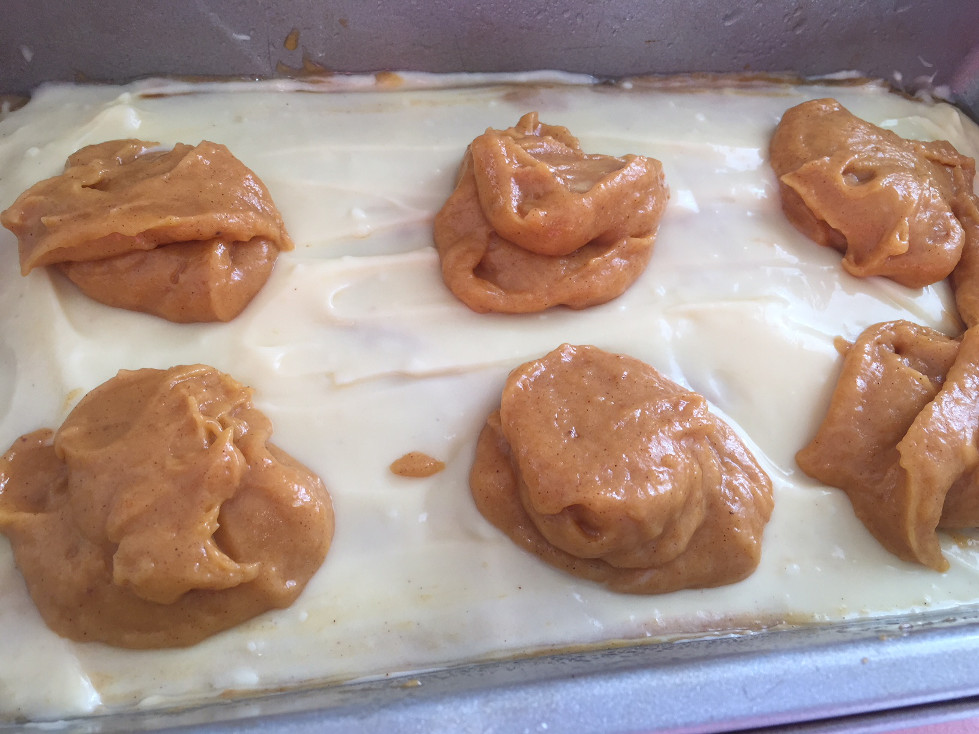
Step 12 Grab a tablespoon and drop dollops of the remaining pumpkin batter across the top of cream cheese.
(Note: I kept mine in rows, but it really doesn’t matter because you will be swirling it.)
Step 13 Take a knife and cut through all the batter in a snake-like pattern to help create the swirl. You can stick to the top and only mix the top layers. This is likely to develop a flatter layer of cream cheese inside. If you decide to cut through all the layers, be sure to avoid the sides and the bottom of the loaf pan.
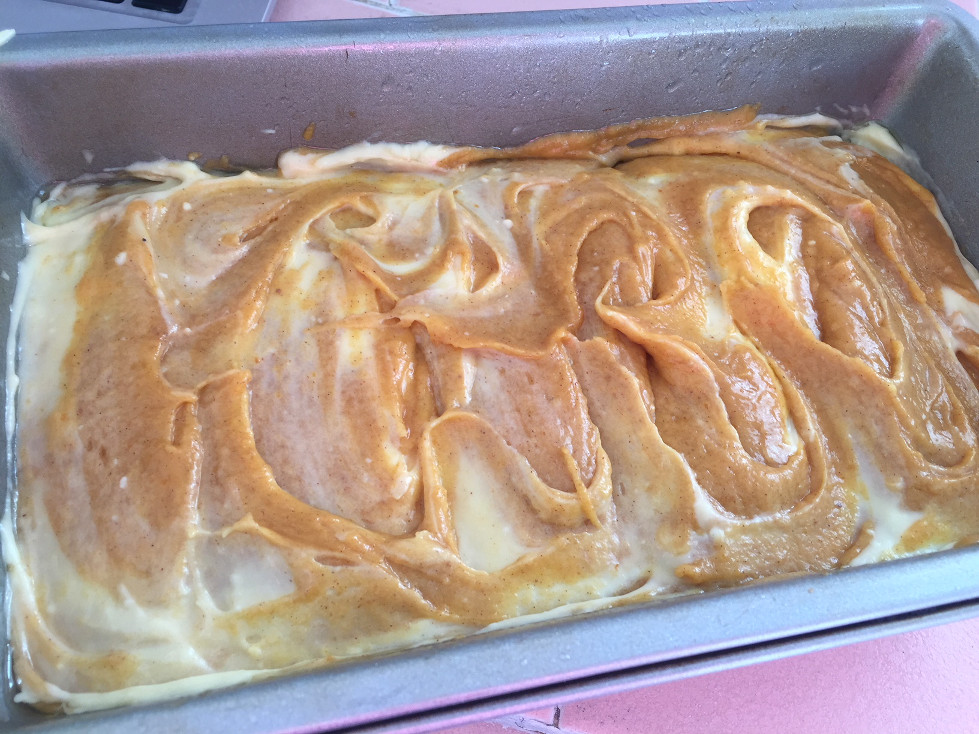
Step 14 Place the filled loaf pan in the middle of the middle shelf in the oven. Bake for 70 minutes, and then check to be sure it is cooked through with a toothpick. If you added extra cream cheese, you might need to add up to 10 minutes to the baking time.
Step 15 Cool in the pan for 15-20 minutes. Then remove the loaf from the pan and cool for another hour. The long cooling time helps set the crumb.
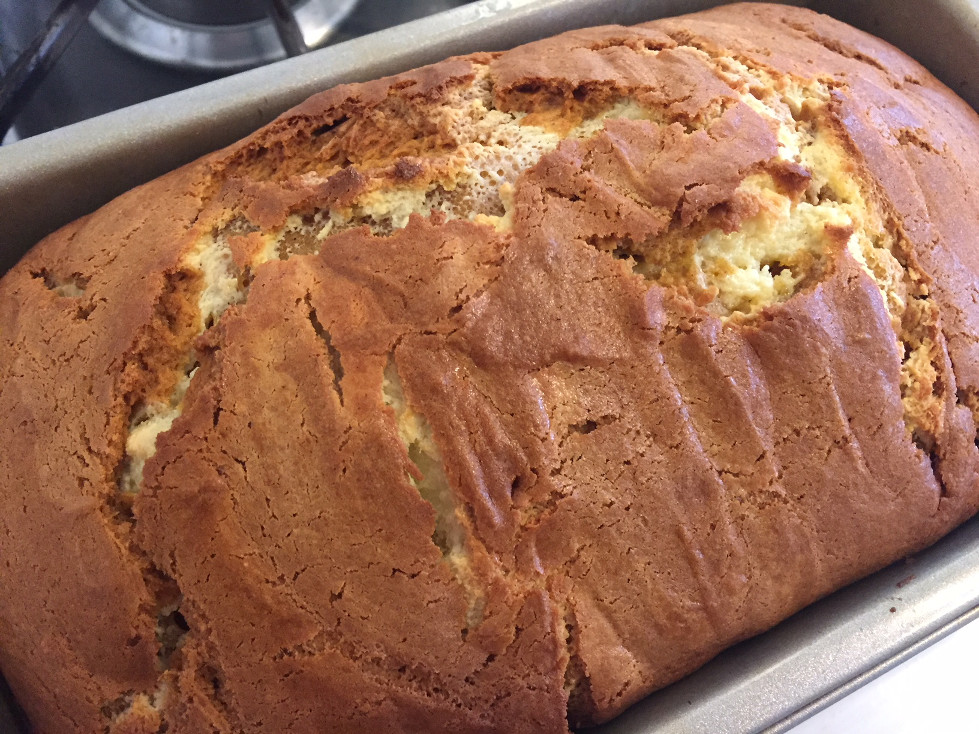
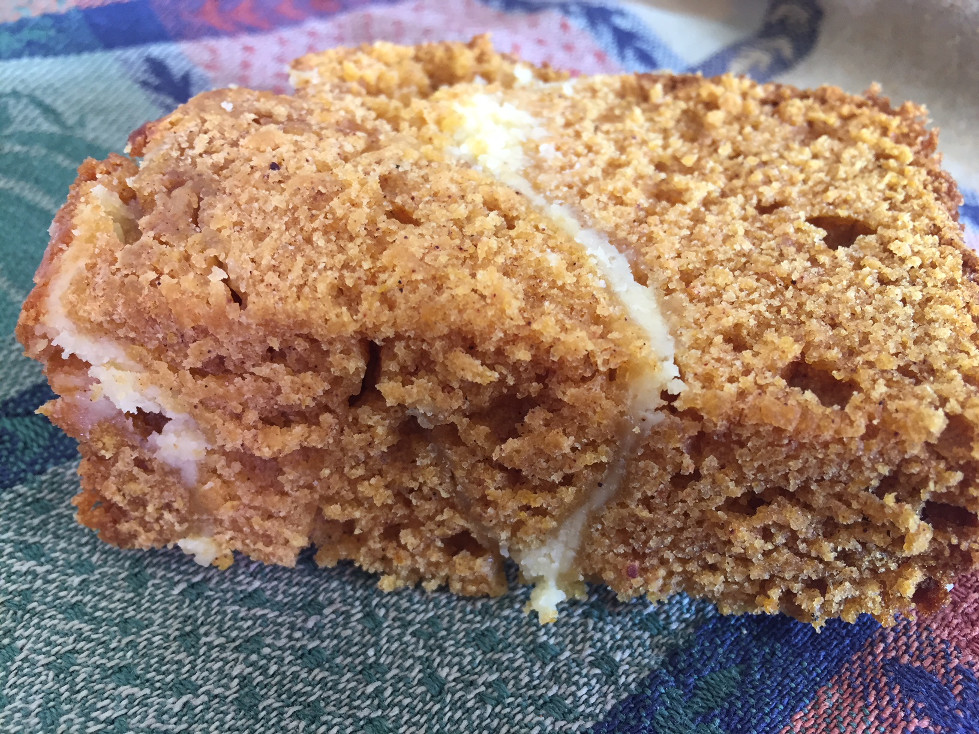
Final note: Andy swears this had even more flavor the following day, so if you are having guests, you might want to make this loaf the day before you want to serve it. We stored our loaf in a sealable plastic bag to keep it moist.
If you want to read more about our food and wine discoveries, click here.
