I’m always on the lookout for a flaky pie crust recipe, but time and time again, I have returned to making a variation on the ones featured in Better Homes & Gardens New Cookbook (1962). My mom and I made pie crusts together using these recipes (and she had made them with her mom), so that’s definitely part of the allure. But they make delightful, flaky pie crusts that are also vegan. Win! So, if you are looking for a simple flaky pie crust recipe (double crust or lattice), take a look at this one and see what you think.
Pie Crust Ingredients (8- or 9-inch Double Crust or Lattice Top)
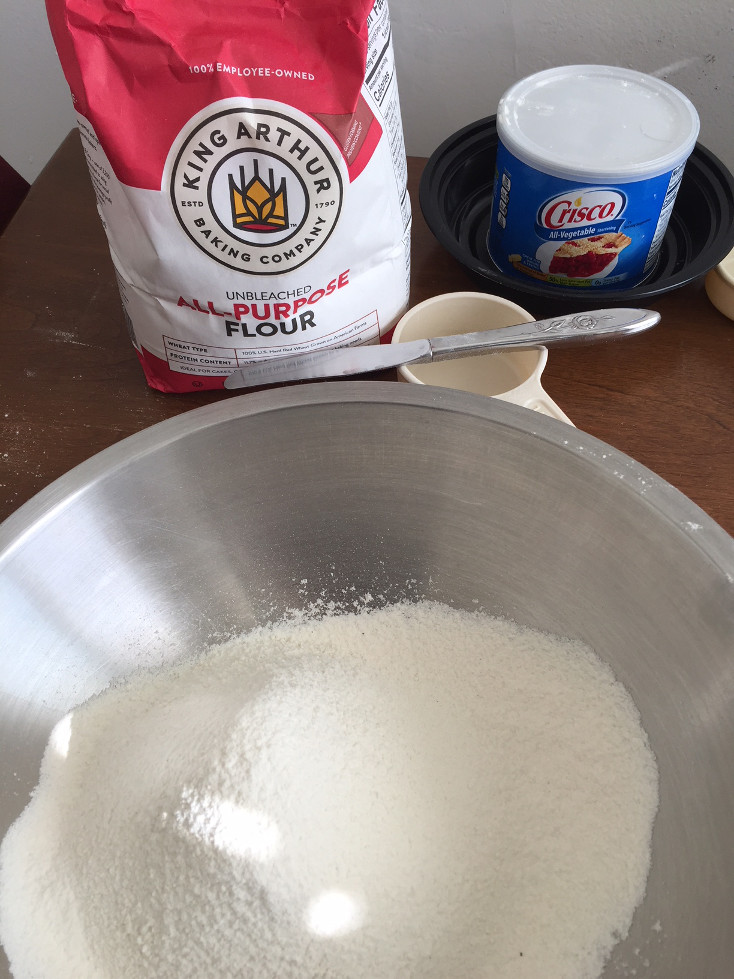
2 Cups Sifted All-Purpose Flour (I use King Arthur)
1 Teaspoon Salt
2/3 Cup Very Cold Shortening (I use Crisco All-Vegetable)
6-7 Tablespoons Cold Water
Note: One trick to getting a flaky crust using shortening is to make sure that your shortening has been refrigerated. I make sure that mine has been in the refrigerator at least 24 hours before I start making the crust.
Recipe Special Tools
Pastry Cutter (although you can use a fork)
Rolling Mat (optional)
Pie Crust Recipe Steps (Double Crust or Lattice Top)
Step 1 Sift the flour and the salt together into a large bowl.
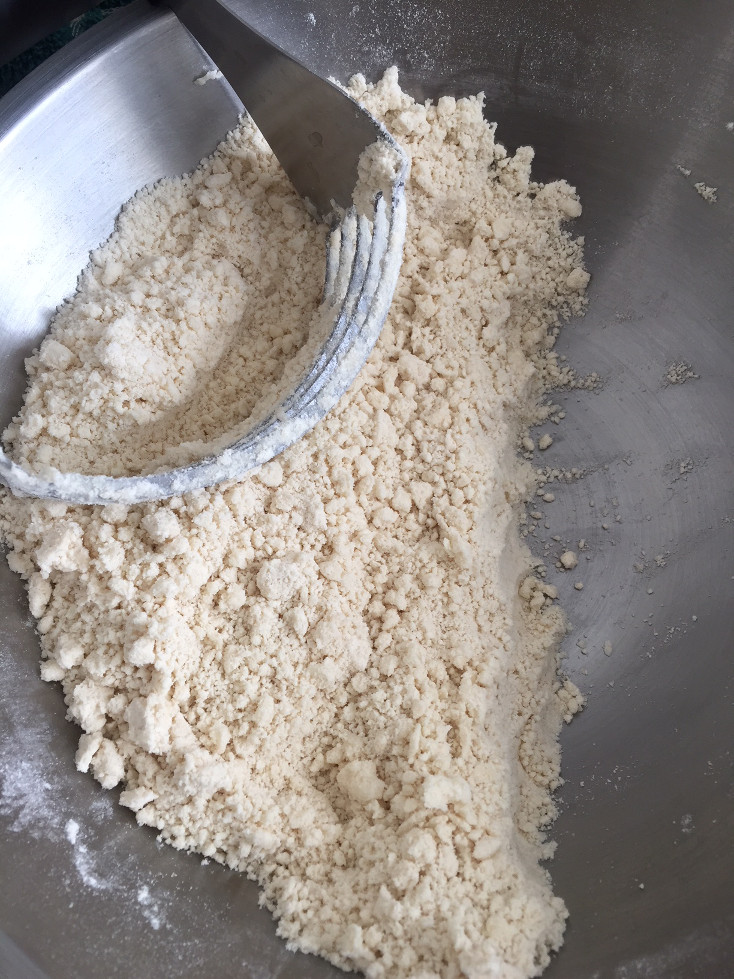
Step 2 Divide your shortening in half. Add the first half of the shortening into the bowl and cut it with the pastry cutter or fork.
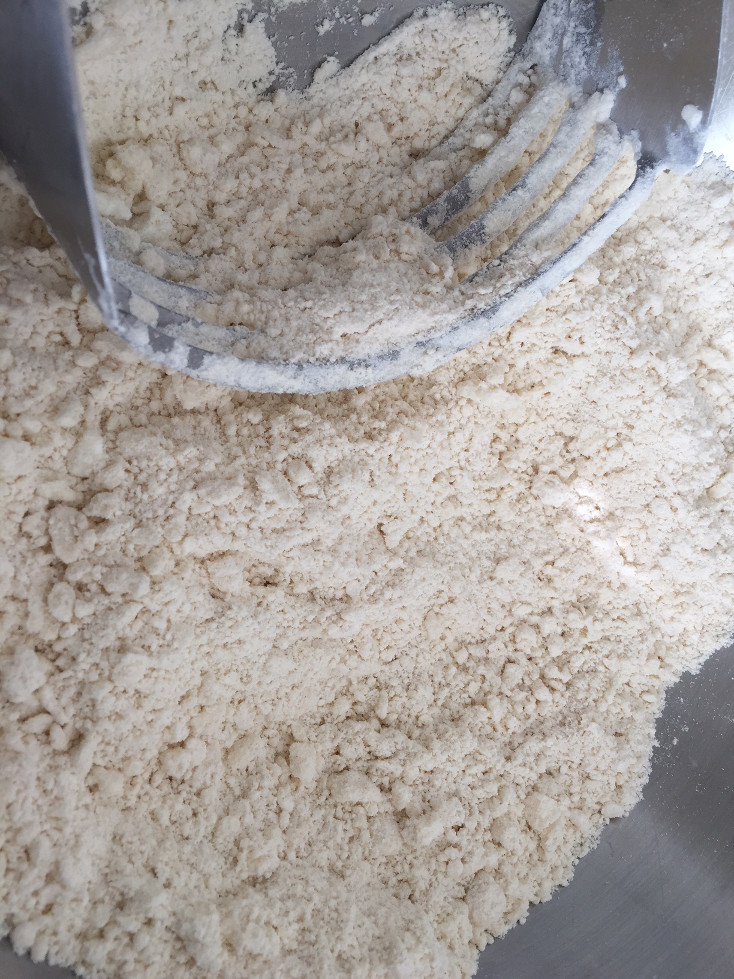
Step 3 Add the second half of your cold shortening into the dough. Cut and blend it until it looks like small peas.
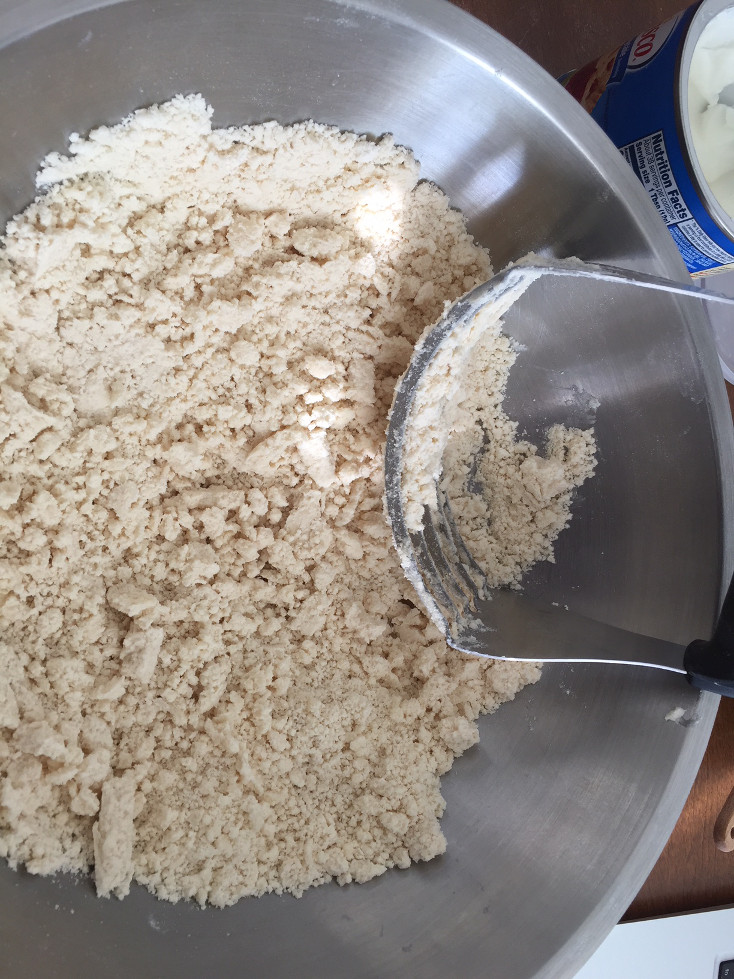
This starts to get tricky.
Step 4 Add 1 teaspoon of very cold water over a small section of the flour/shortening dough. Toss it with a fork lightly to mix it, and then gently push it to the side of your bowl.
Step 5 Repeat the previous step of adding teaspoons of cold water until the dough is evenly moistened.
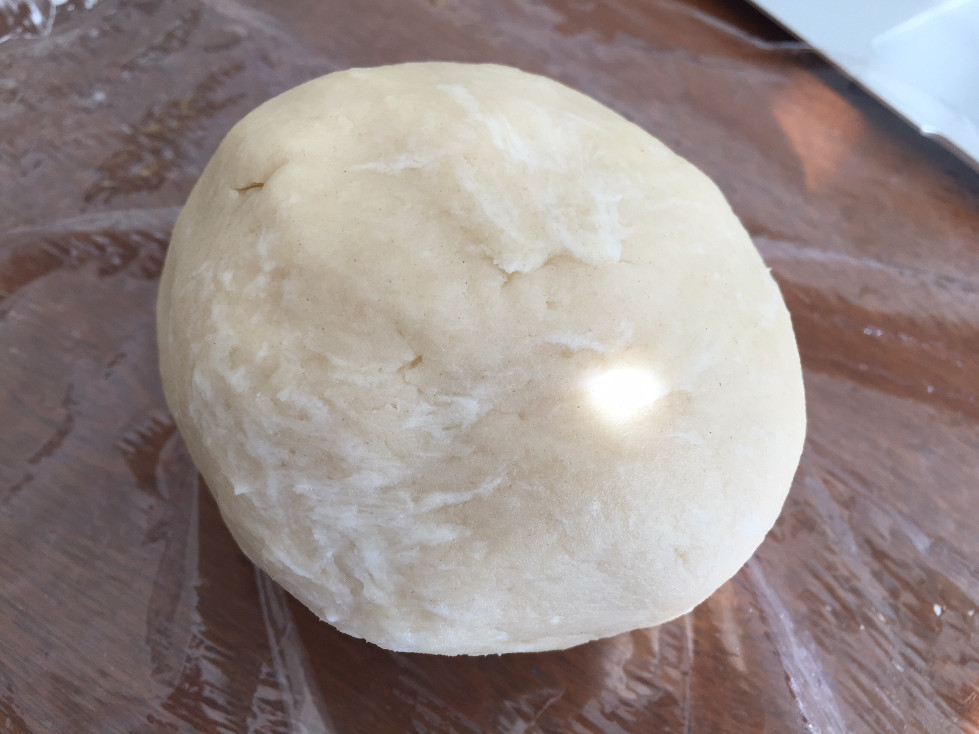
Step 6 Divide the dough into two sections.
Step 7 Roll each section into a ball using your hands.
Step 8 Cover the balls in cling film and put them into the refrigerator for 30 minutes. Technically, they can be stored in the refrigerator for up to 3 days, if you want to make the dough ahead of time.
Note: Resting the dough balls in the refrigerator before you roll and cut them allows the shortening to firm up (this works if you are using butter, as well). By doing this, you should produce a flakier pie crust.
Note: If the pie crust pastry seems too crumbly to roll out, add cold water slowly to bind it. This typically happens when you’ve added too much shortening. I just made this mistake, and it was easier to start over than to try to add water.
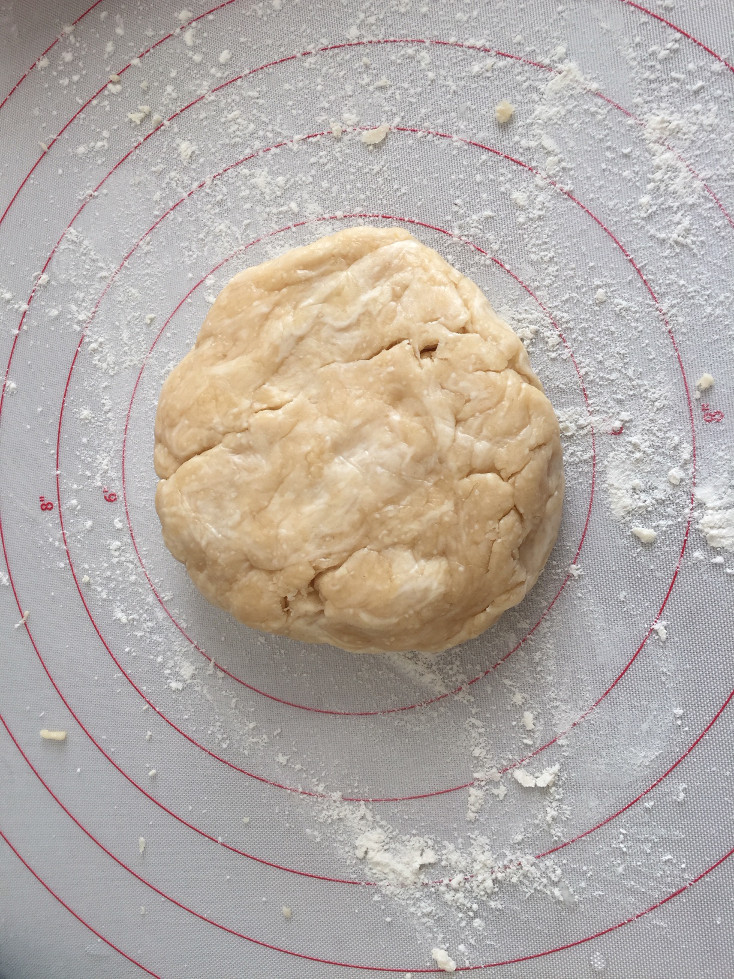
Step 9 On a lightly floured surface or rolling mat, gently flatten the first dough ball and then roll it so that the dough is approximately 1/8-inch thick.
Note: I prefer using a rolling mat because it takes the guesswork out of how much I need to fit into the pie plate. But if you are good at judging sizes and can work with the plate itself, that will absolutely work.
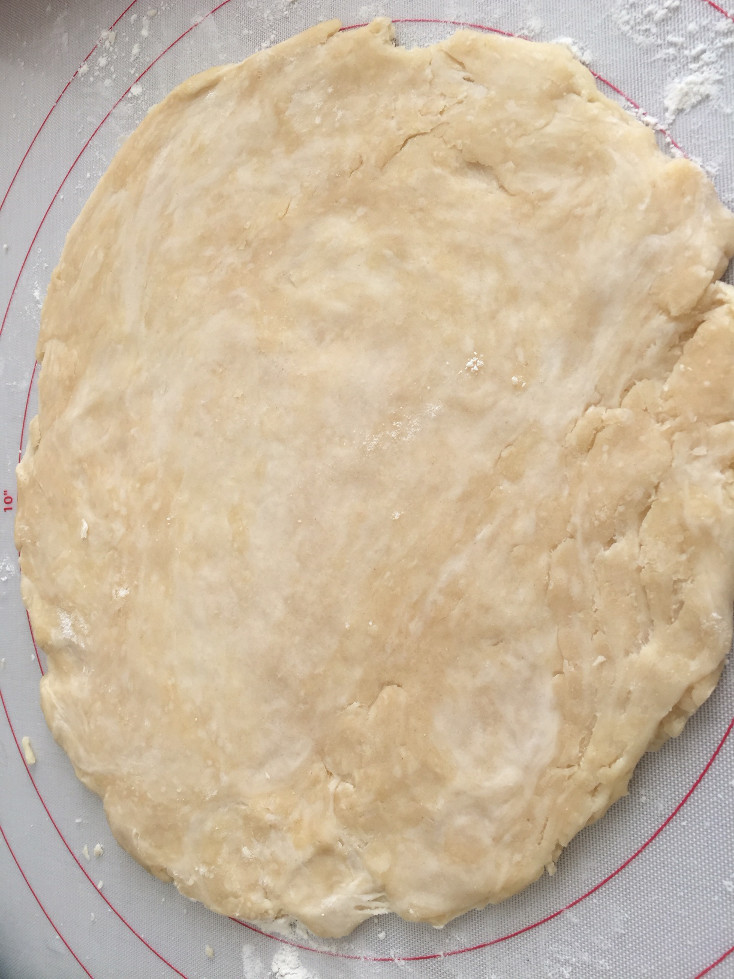
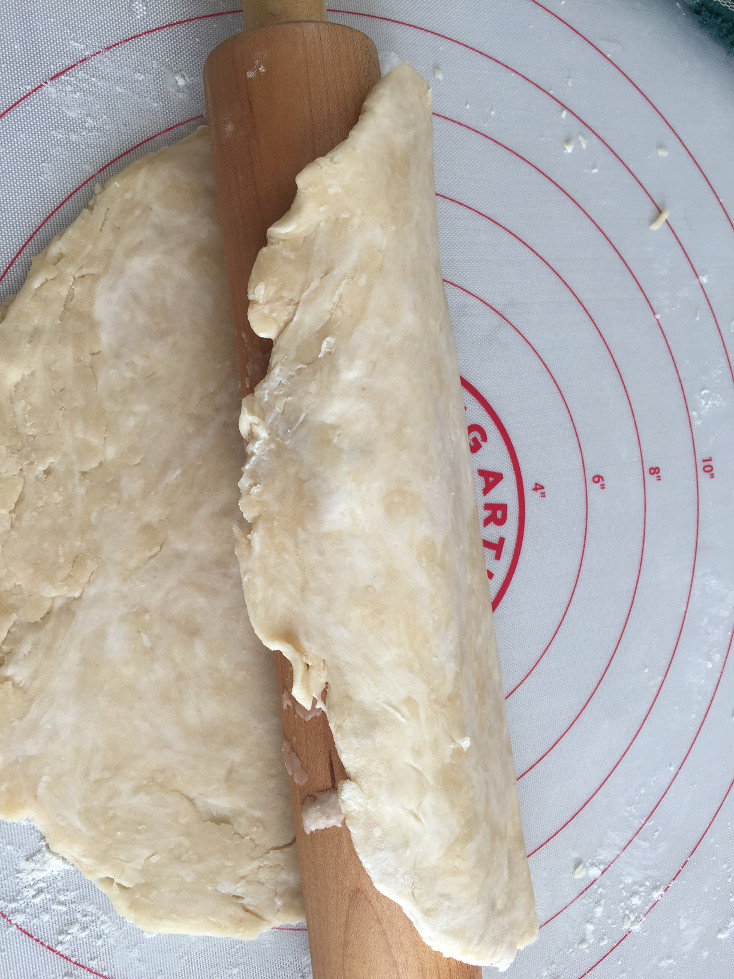
Step 10 When satisfied with the size and thickness, roll the crust over the rolling pin to transfer it into the bottom of the pie plate.
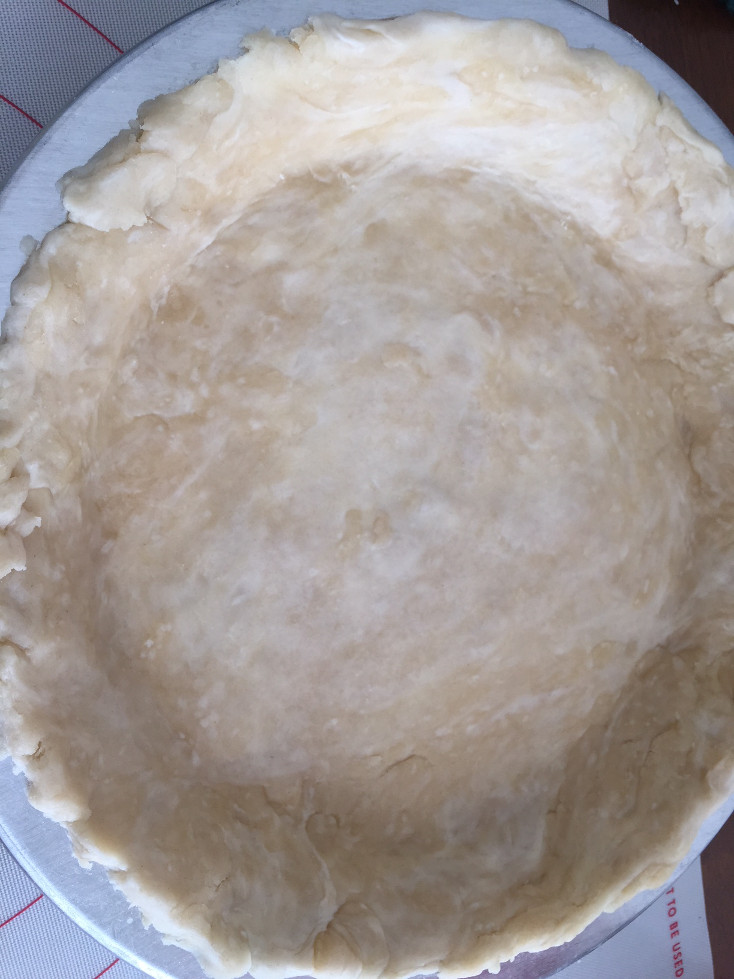
Step 11 Fit the pastry loosely into the sides and bottom of the pie plate. Refrigerate for at least 15 minutes. If you typically have soggy bottom issues (or you are baking a very wet fruit pie), you might want to lightly brush corn syrup on the bottom layer before you add the filling.
Note: Do not prick the bottom with a fork if you are baking the filling inside the pie.
Step 12 Add your filling.
Step 13 Pre-heat your oven to 400 degrees F.
Step 14 Repeat Step 9 for the second pastry dough ball to form your top.
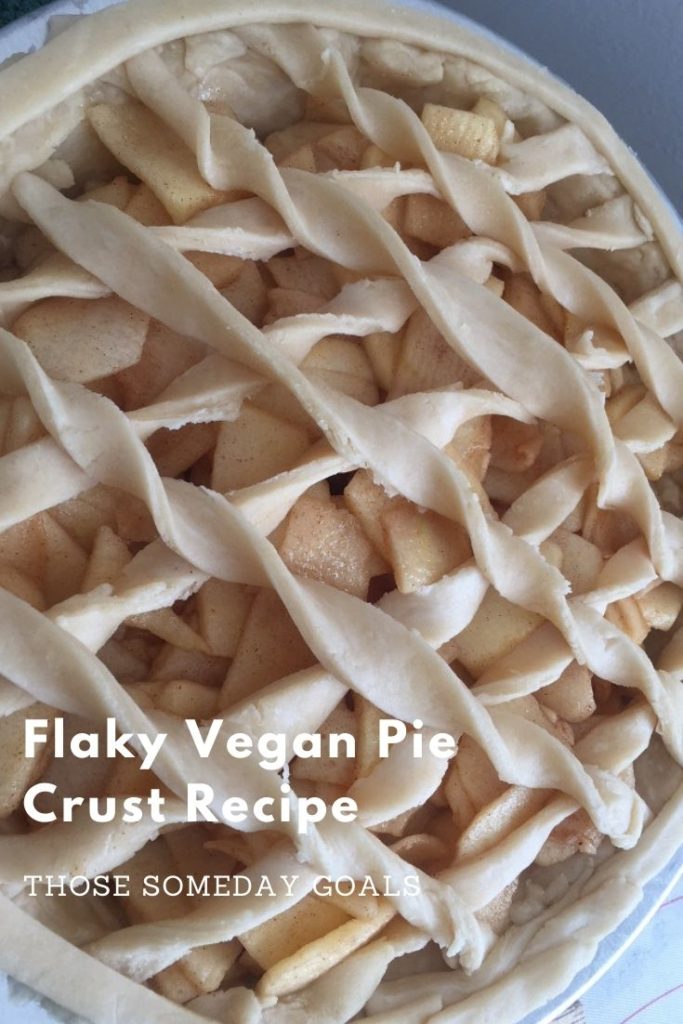
Easy Lattice Top to a Pie Crust:
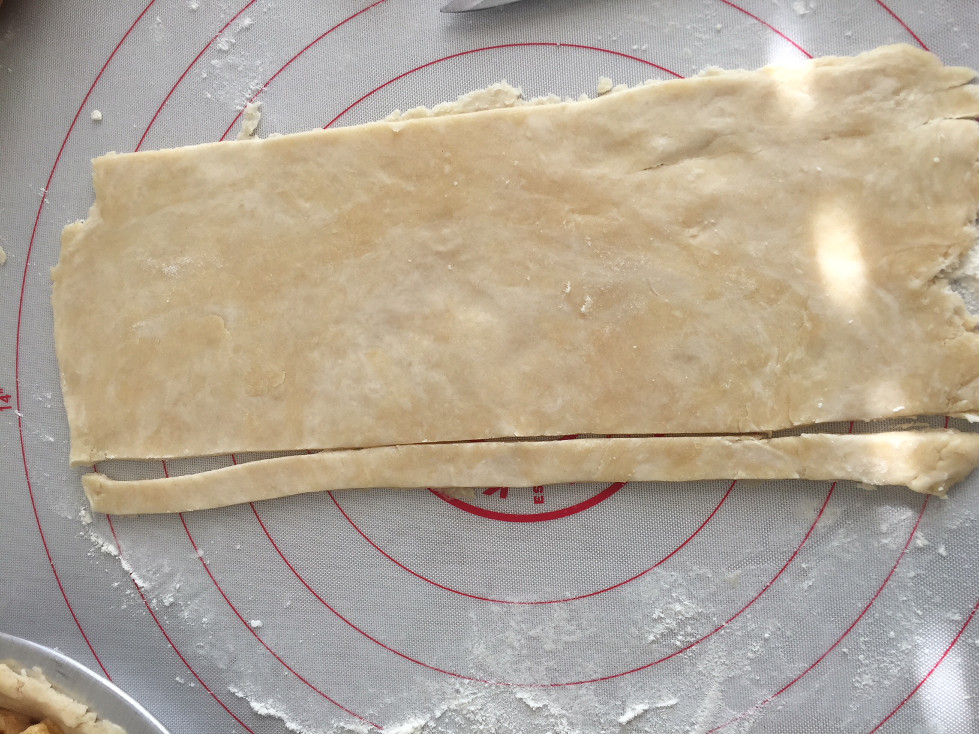
Step 15 Cut the pastry dough from the second ball into strips that are approximately ½-inch wide.
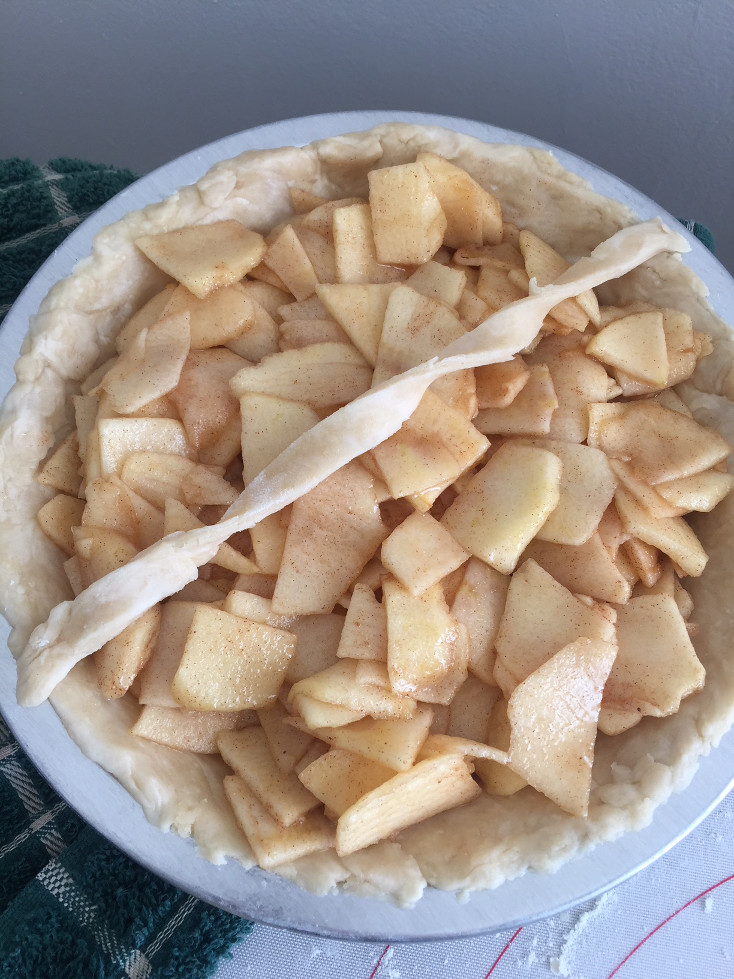
Step 16 Gently twist a strip and lay it across the filled pie, starting from the middle. Keep adding twisted strips across the filled pie, keeping them about 1 inch apart from each other.
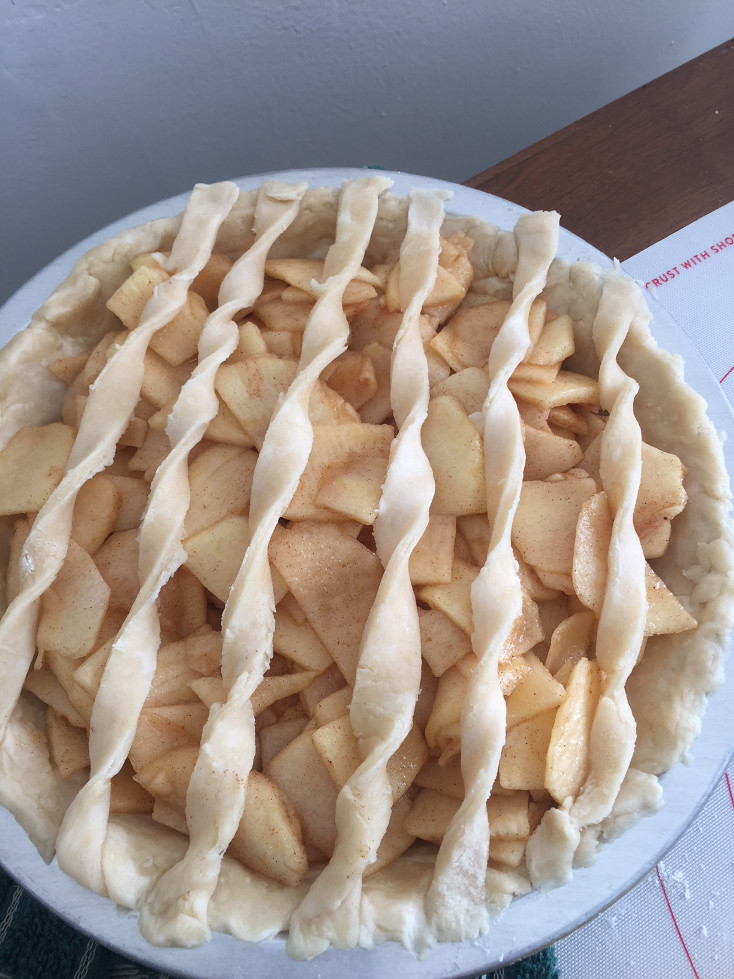
Step 17 Take the remaining strips, twist them, and lay them in the opposite direction.
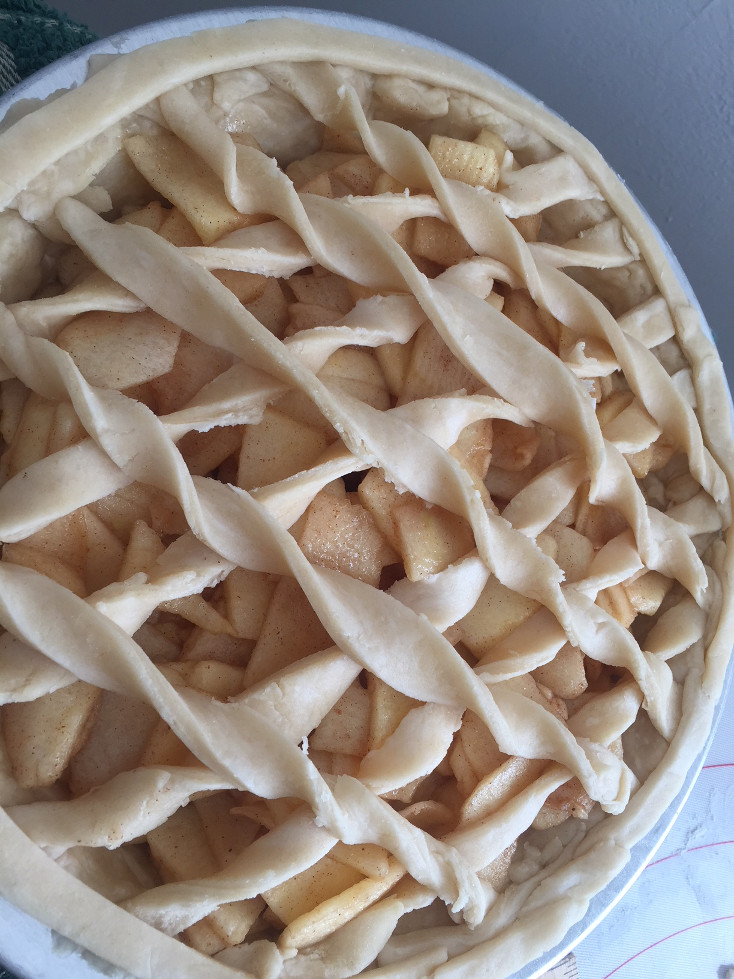
Step 18 Moisten the ends of the strips and press down to bind them to the crust below.
Step 19 You can flute the edges of the bottom crust, crimp it, or simply cut it so that it sits at the end of the pie plate. Entirely up to you!
Step 20 (Optional) You can sprinkle the top with sugar if you want the top pie crust to have a little extra feeling of celebration. I tend to only do it with solid top pie crusts rather than with the lattice tops.
Step 21 Bake your pie crust based on your specific pie recipe. For instance, I’m using this for an apple pie, so I’ll bake it with the filling inside for 45-50 minutes.
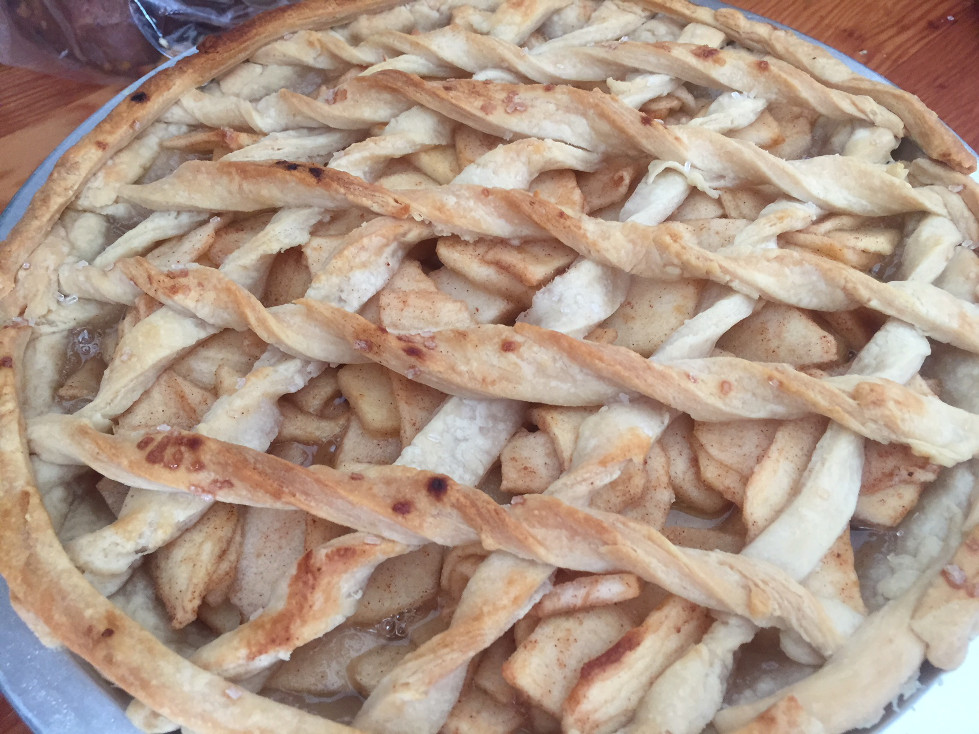
Step 22 Remove the pie and cool significantly before serving. Enjoy!
Overall impressions: I like the lattice top. I think it looks very pretty, and it is somewhat easier to make sure the pie filling is fully cooked using it. However, when you cut into it, it does fall apart fairly quickly. So, the serving presentation isn’t great. Still, it does look lovely and tastes great.
Quick Double Crust:
Step 15 Follow the steps above through Step 14.
Step 16 Roll out the second pastry dough ball to an even thickness.
Step 17 Slash the upper crust with whatever design you might like.
Step 18 Trim the bottom crust so that it meets the rim of the plate.
Step 19 Transfer the designed top crust over the pie.
Step 20 Trim the excess crust, leaving only approximately 1/2-inch of extra crust.
Step 21 Tuck the extra top crust under the bottom crust, using water to help seal it, if necessary.
Note: Tucking is most important when you have piled the pie filling high. The tucking and sealing of the top and bottom crusts will keep the pie from leaking while in the oven.
Step 22 Crimp the edges.
Step 23 (Optional) You can sprinkle the top with sugar sprinkles if you want the top pie crust to have a little extra feeling of celebration.
Step 24 Bake your pie crust based on your specific pie recipe, approximately 45-50 minutes.
For more food and drink recipes and discoveries, click here.