After watching this year’s Great British Bake Off, I wanted to see if I could make a quick focaccia bread recipe that wouldn’t be raw or too “bready.” I started with a recipe off of the King Arthur Baking site (original author was PJ Hamel) but then made some adjustments along the way, including the addition of steam and the use of rosemary. What resulted was a delightful rosemary-infused olive oil that took only 2 hours to bake. If you are intrigued, read on to see what I did and where you can make adjustments of your own.
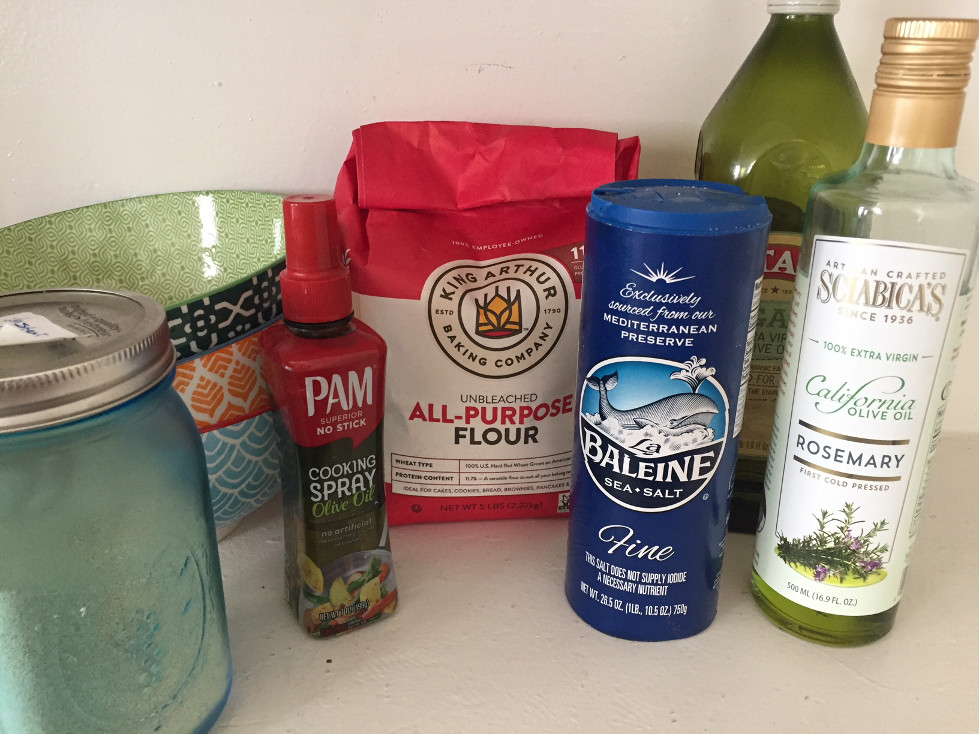
Focaccia Bread Recipe Ingredients
Dough
65 Grams Extra Virgin Olive Oil, divided
340 Grams Warm Water (for the Bake – You will need more for the steam)
8 Grams Fine Sea Salt
420 Grams King Arthur Unbleached All-Purpose Flour
1 Tablespoon Instant Yeast
Topping
15 Grams Rosemary-Infused Olive Oil for Drizzling (I used Sciabica’s, but pick your favorite)
Coarse Sea Salt (Dress to Taste – I Used 2 Tablespoons)
Equipment
9inch x 13inch Pan*
Stand Mixer
Roasting Pan
*Important Note: This pan with this amount of dough will produce a thicker focaccia bread. If you want thinner bread, use a rimmed baking sheet instead.
Focaccia Bread Recipe Steps
Step 1 Spray your pan lightly with a vegetable oil spray to keep your bread from sticking to the pan.
Step 2 Pour approximately 30 grams of your extra virgin olive oil over the sprayed pan. Gently tilt the pan back and forth to level the olive oil and ensure that the entire surface is coated. It’s this olive oil coating that will help give your finished focaccia bread a nice crunchy texture.
Step 3 Measure and put your flour into your stand mixer’s bowl.
Step 4 Combine the warm water and the instant yeast in a separate bowl. Swish around gently to dissolve. Then add the mixture to the flour. Toss in the remaining 35 grams of extra virgin olive oil and the salt on top of it all.
Note: I tend to separate the salt and the yeast before mixing because I’m superstitious about the salt potentially inhibiting this small amount of yeast.
Step 5 Beat the mixture using a dough hook at high speed for approximately 1 minute. I used the 6 setting on my KitchenAid stand mixer.
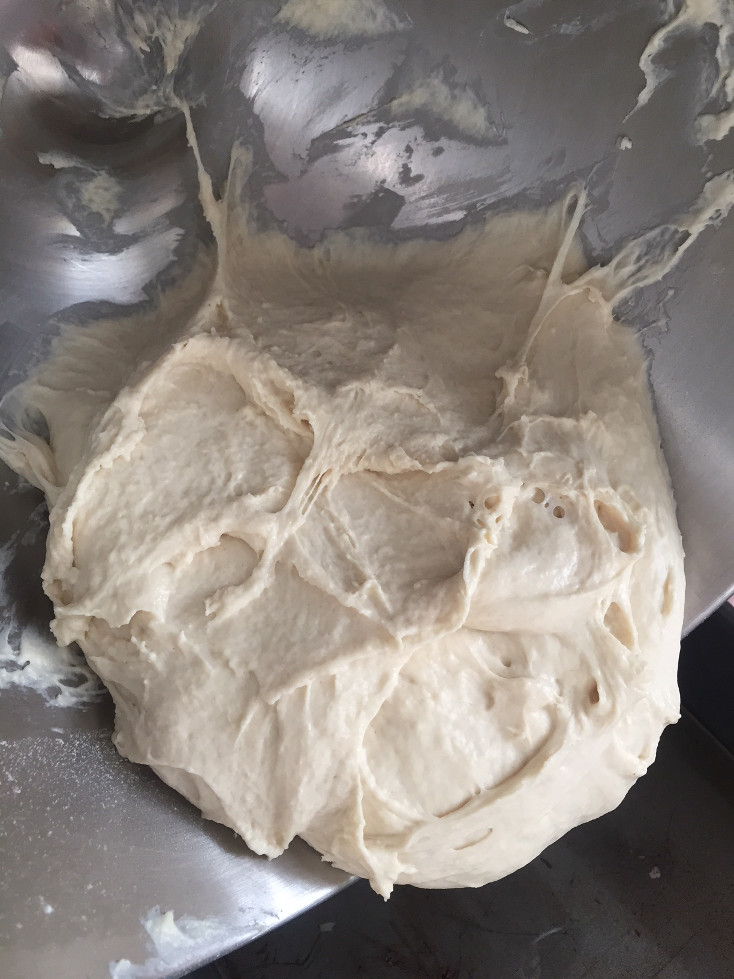
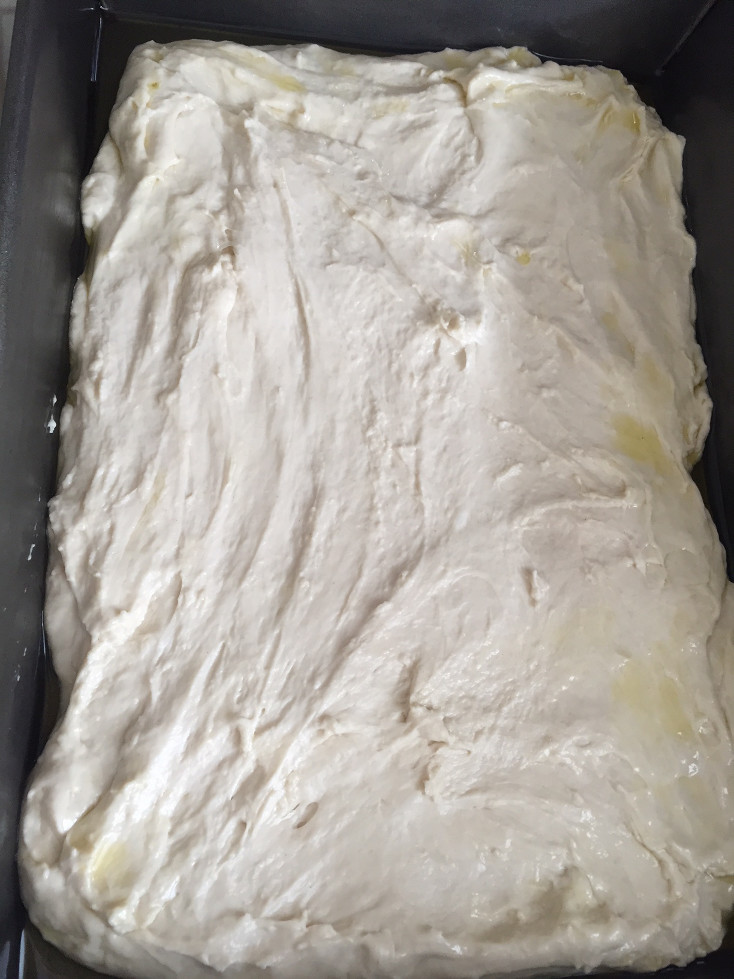
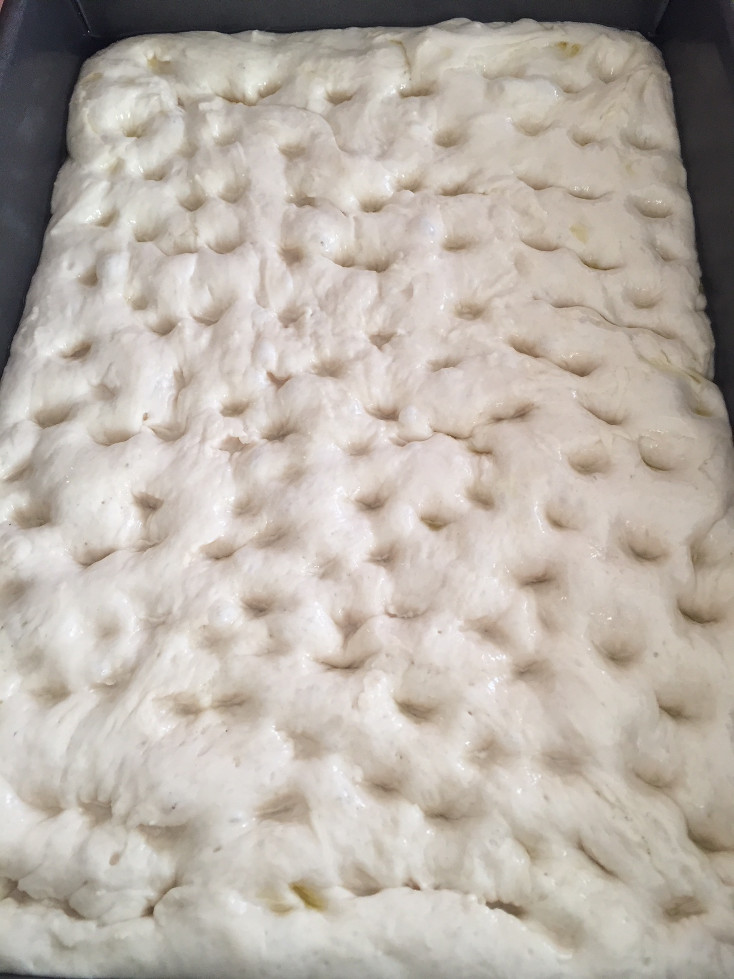
Step 6 The focaccia dough should look very sticky. It will look a little puffy, but it won’t be overly airy or too wet at this point. Pour the batter onto the olive oil-covered pan. Press it gently out into the corners and edges, so it fills most of the pan. Don’t overwork it, and don’t worry if it contracts a little bit. It will fill out during the rise.
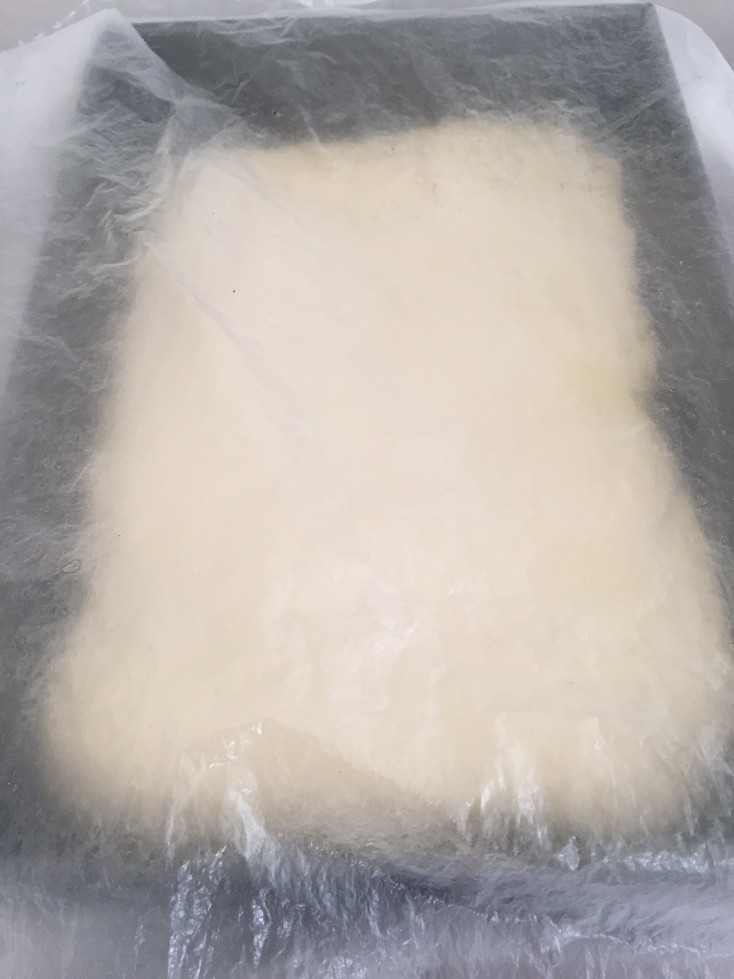
Step 7 Cover the pan lightly and let the dough rise for 1 hour.
Step 8 Preheat the oven to 400 degrees F during the rise. Add a roasting pan to the bottom rack of the oven for steaming during the bake.
Step 9 After an hour, test the dough by gently poking it in the corner with your finger. If it bounces back right away, it isn’t ready to bake, and it needs more time to rise (it can happen when the kitchen is chilly). If the indent stays, move on to Step 10.
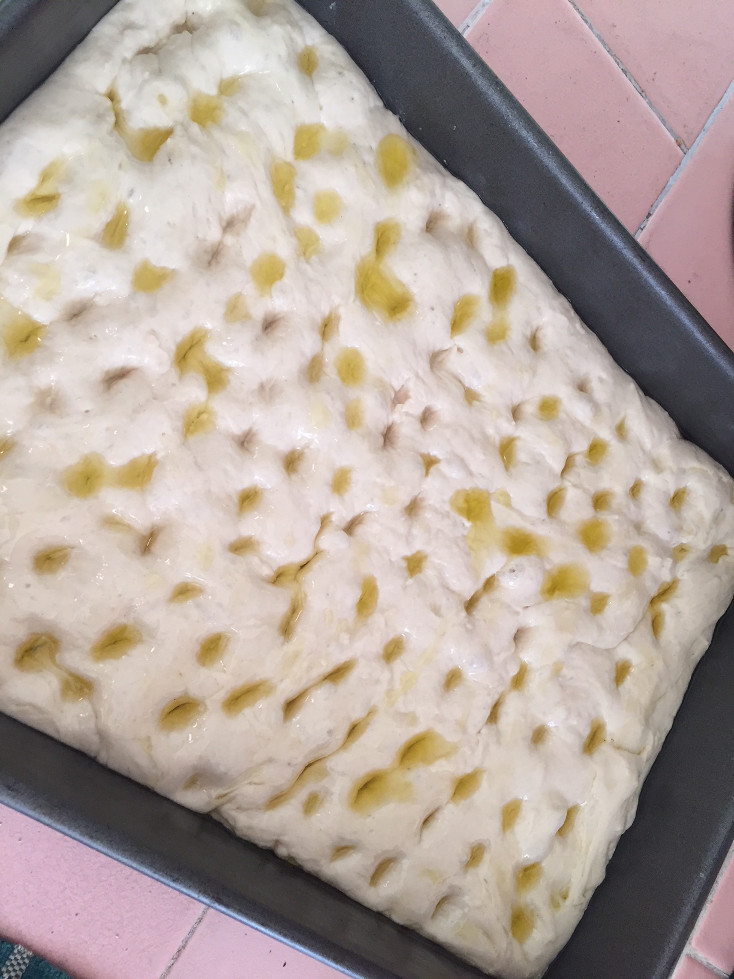
Step 10 Poke the dough all over with your index fingers. You want the indents to be deep, but you want to be gentle enough not to deflate the dough.
Step 11 Drizzle the rosemary-infused olive oil across the entire focaccia. If you don’t feel like you have a good coating, get a pastry brush, dip it into olive oil, and brush any bare spots.
Step 12 Sprinkle the coarse sea salt over the entire focaccia bread loaf. The amount is really up to taste, but I used approximately 2 tablespoons.
Step 13 Boil water to add to the roasting pan (approximately 3 cups – enough to cover the roasting pan with up to an inch of water)
Step 14 Place the focaccia bread on the middle rack of the oven. Quickly add the hot water to the roasting pan and close the oven door. This will trap the steam during the initial bake.
Step 15 Bake for 10 minutes with steam.
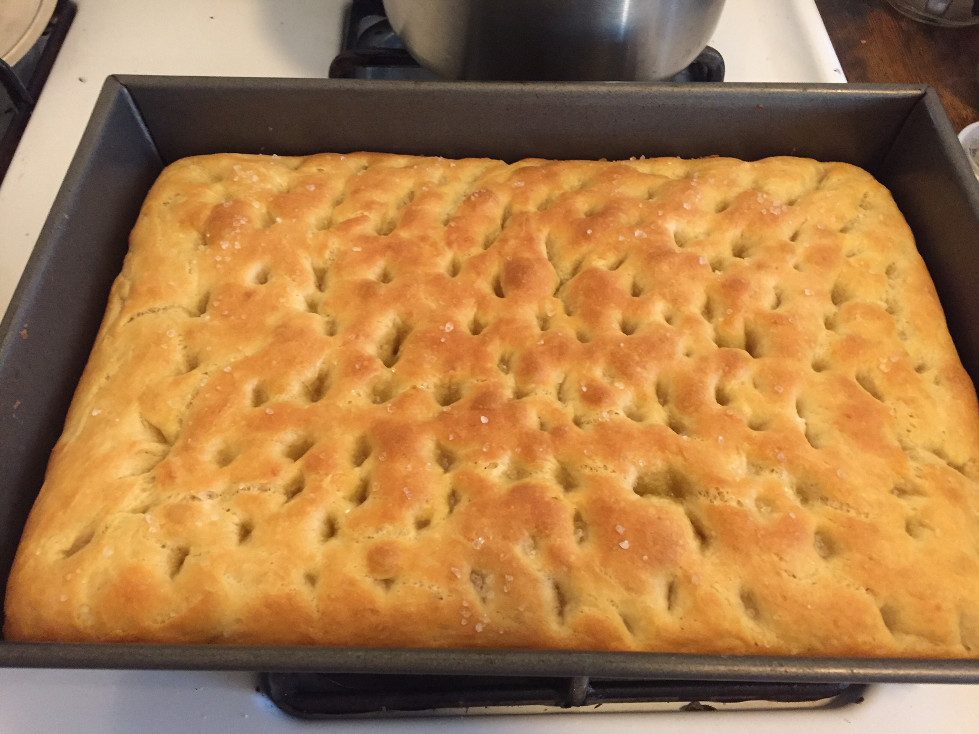
Step 16 At the 10-minute mark, remove the roasting pan, let out the steam, and continue baking for approximately 10 to 15 more minutes. You want a golden brown top.
Step 17 Do not burn your hand like I did!
Step 18 Remove the focaccia bread pan and let it rest for 5 minutes outside the oven. After that, turn it out onto a cooling rack for approximately 10 minutes before cutting it into squares.
This focaccia bread recipe is relatively quick – you can make the bread in about 2 hours, plus cooling time. It’s best eaten on the day of the bake, but it can be frozen. We tend to put it in an air-tight container and then warm pieces in the oven with a tiny bit of additional olive oil on top to keep it from drying out or getting soggy.
Overall Impression of the Focaccia Bread Recipe:
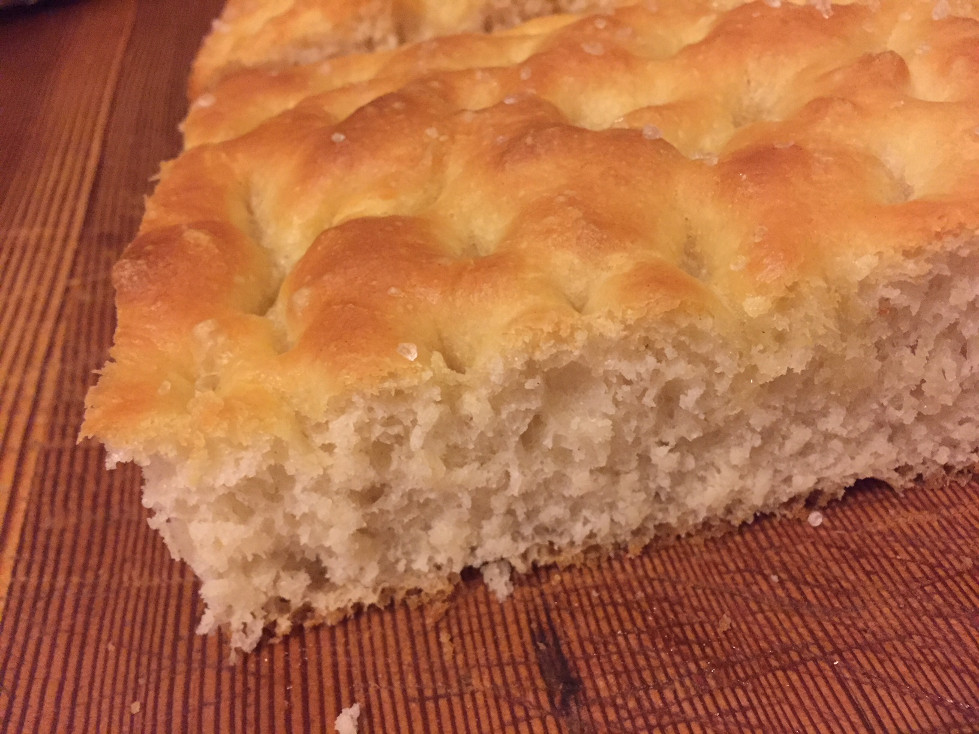
This quick recipe produced delicious focaccia bread. It had a nice crunch on the bottom, top, and sides but was surprisingly airy inside. It was thicker than I was used to because of the pan, but I liked it. Next time, I’ll try the baking sheet and see which version I prefer.
For more food and wine recipes and discoveries, click here.
I’m excited to be one of Google’s paid early testers for their Thank with Google pilot program. Thank with Google is an experimental feature that allows you to purchase a virtual sticker and directly show your appreciation for content you find useful on Those Someday Goals. As a loyal supporter, you can now feel more connected and engaged with Those Someday Goals because you have the ability to express yourself and share what my work means to you. How great is that?!
What I really love is that you get to select from a variety of different stickers. Every time you decide to send a paid sticker, you can add a personal message. And for me, these virtual stickers can translate into direct revenue to support the work that goes into the content that you are enjoying on my blog.
You can find the Thank with Google feature in my sidebar and at the bottom of my blog posts. If you test it out, let me know what you think! Thanks as always for your support.
Happy Holidays!
Patricia