I wanted to make this hard rolls recipe for Thanksgiving but went in another direction at the last minute. Luckily, it will work just as well for making deliciously crunching dinner rolls for holiday meals. This recipe is a variation on PJ Hamel’s available at the King Arthur Baking site. My variations include slightly different timings, a different cooling method, the use of steam throughout the bake, and the addition of a tiny bit of sugar. Read on for our variation on this time-honored hard rolls recipe if you are intrigued.
Hard Rolls Recipe Ingredients
Starter
115 Grams Cool Water
120 Grams King Arthur Unbleached All-Purpose Flour
1/8 teaspoon instant yeast
Dough
The starter, after its overnight rise
420 Grams King Arthur Unbleached All-Purpose Flour
230 Grams Warm Water
10 Grams Salt
1/4 Teaspoon Instant Yeast
1/8 Teaspoon Sugar
Egg Wash
1 large egg white mixed with 75 grams cool water until frothy.
Hard Rolls Recipe Steps
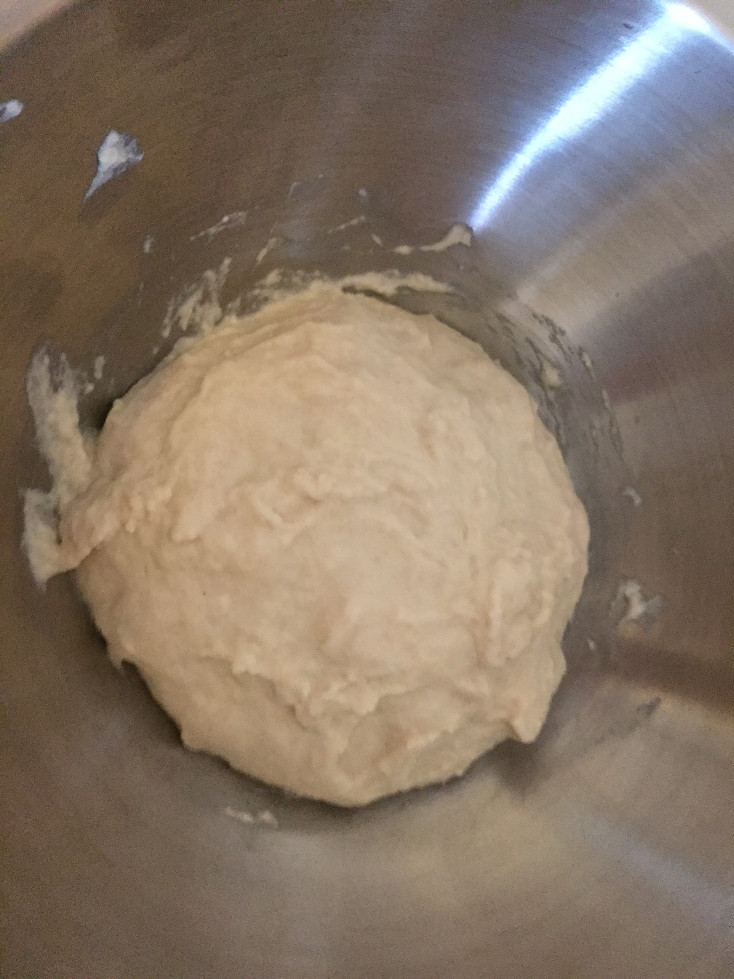
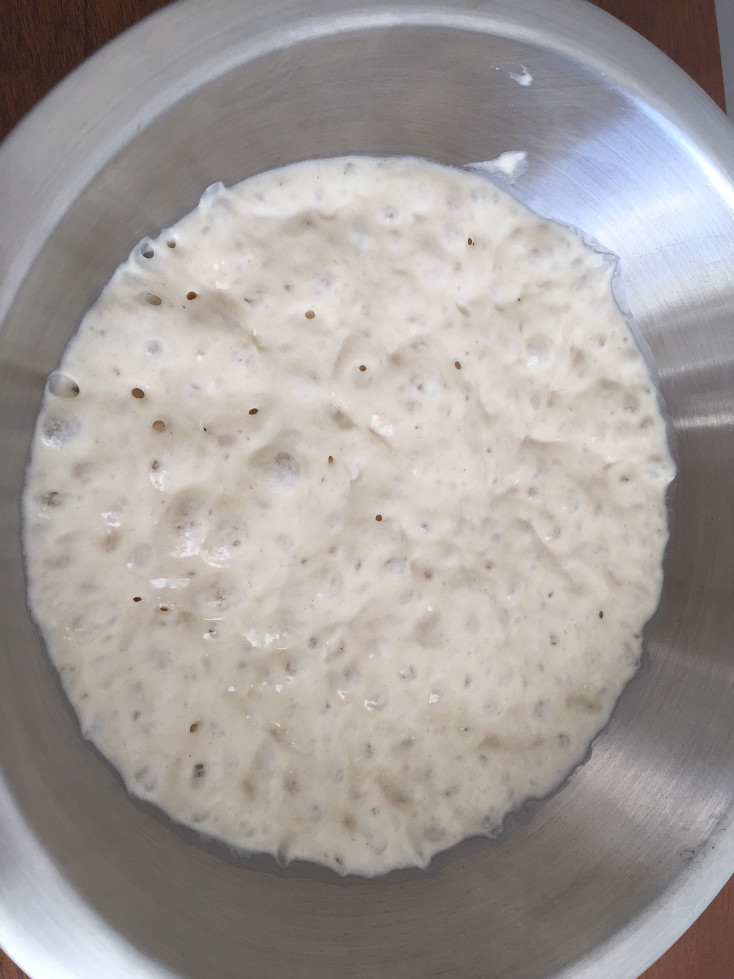
Step 1 Make the starter by adding the cool water and instant yeast to your all-purpose flour and then mixing by hand until it is somewhat smooth. Don’t worry if it isn’t perfect. Cover it and set it aside to rise overnight. In the morning, you should see a risen starter with significant air pockets.
Step 2 Measure out the 420 grams of all-purpose flour into a large mixing bowl.
Step 3 Combine your warm water, yeast, and sugar in a separate bowl and swish around until the yeast dissolves.
Step 4 Pour the water/yeast/sugar combo into the flour mixture. Add the risen starter to the mix. Finally, add the salt on the top and then start to work the dough with your hands (you can also use a stand mixer, but I prefer to get in there with my hands).
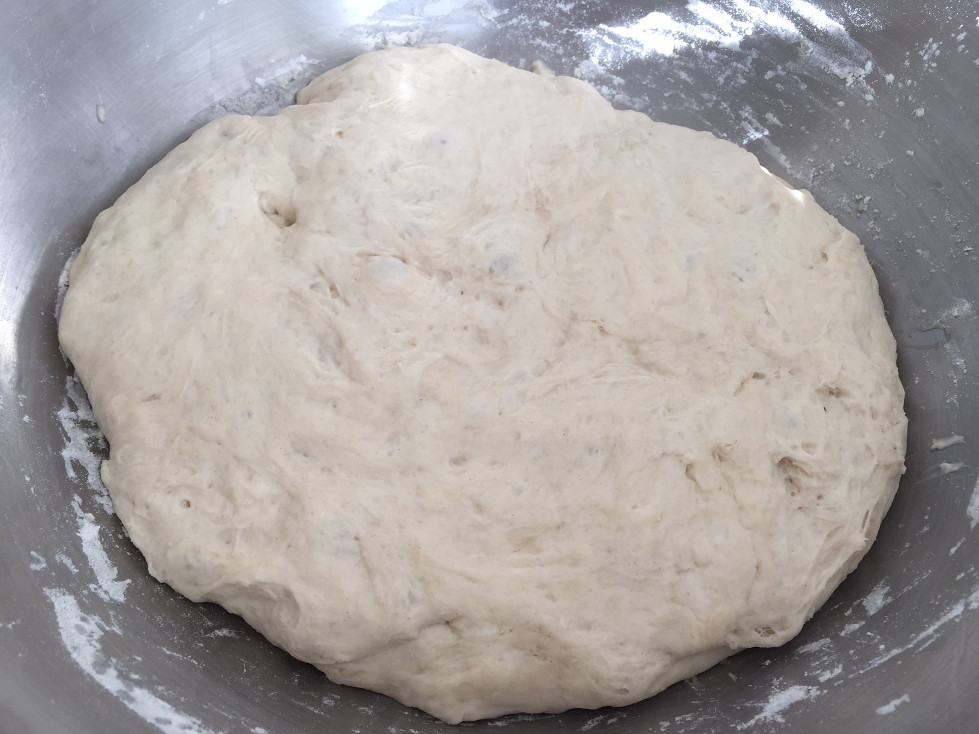
Step 5 Knead the dough until it is a more cohesive mass. At first, it will seem like the dough is way too dry. Resist the urge to add water. If you keep kneading it, after about five minutes, you’ll see that the dough is getting stickier and smoother – although you can see from the photo that it is still a little rough in appearance.
Step 6 Put the dough in a bowl and cover it for a rise for a total of 3-3 1/2 hours (go longer if your kitchen is on the chilly side). After 1 hour, gently punch down the dough, turn it over, and cover the bowl again.
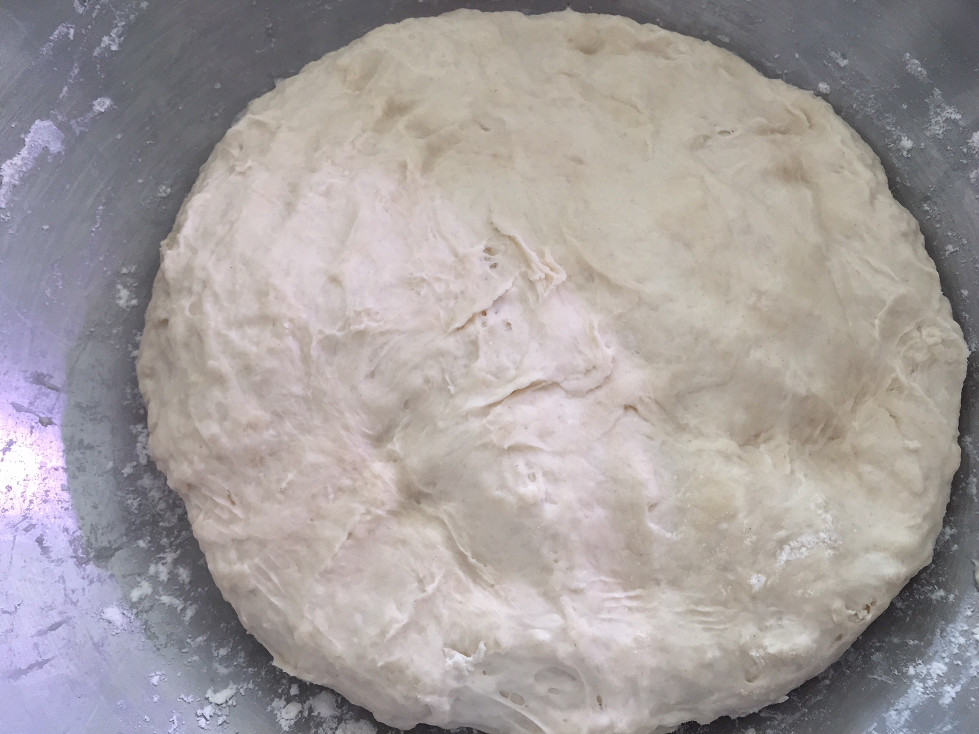
Step 7 Wait 1 ½ hours and repeat the process of gently punching down the dough, turning it over, and covering it again.
Step 8 Spray non-stick cooking oil on your workspace and turn out the dough. Gently press the dough down into a rectangular shape and cut it into 12 equal pieces. If you want larger hard rolls for things like New York breakfast sandwiches, cut the dough into only 6 pieces before rolling.
Note: I messed this up by not using a scale and ended up with 13 slightly smaller dough balls. Whoops!
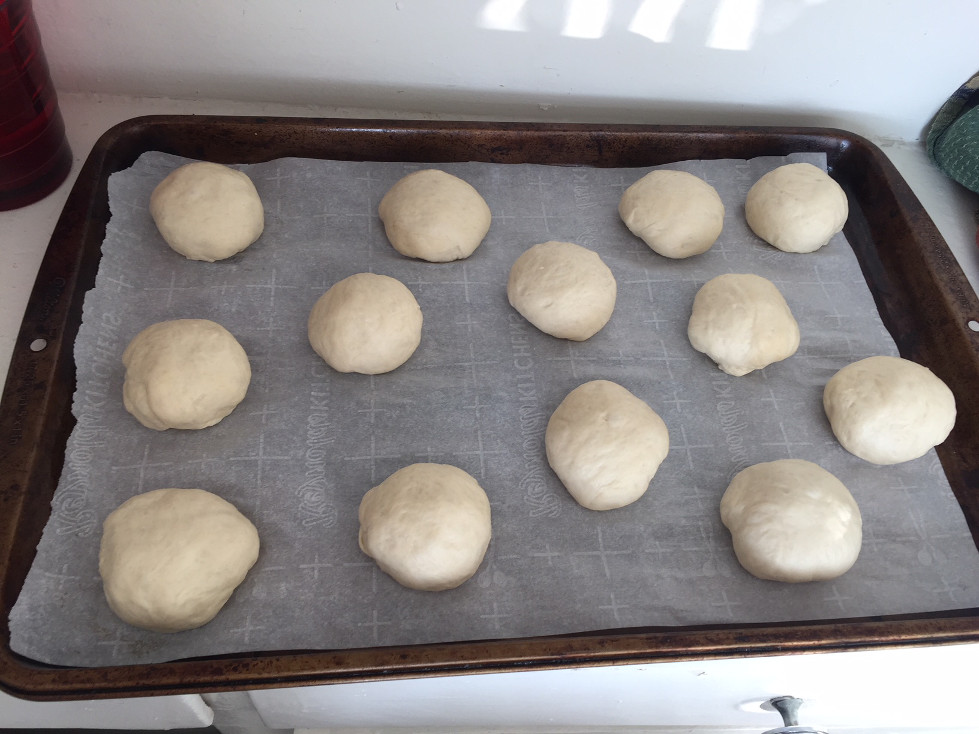
Step 9: Roll each into a ball in your hand once you have the pieces you want. If you use your work surface to create the balls, take care not to press down too hard on the dough.
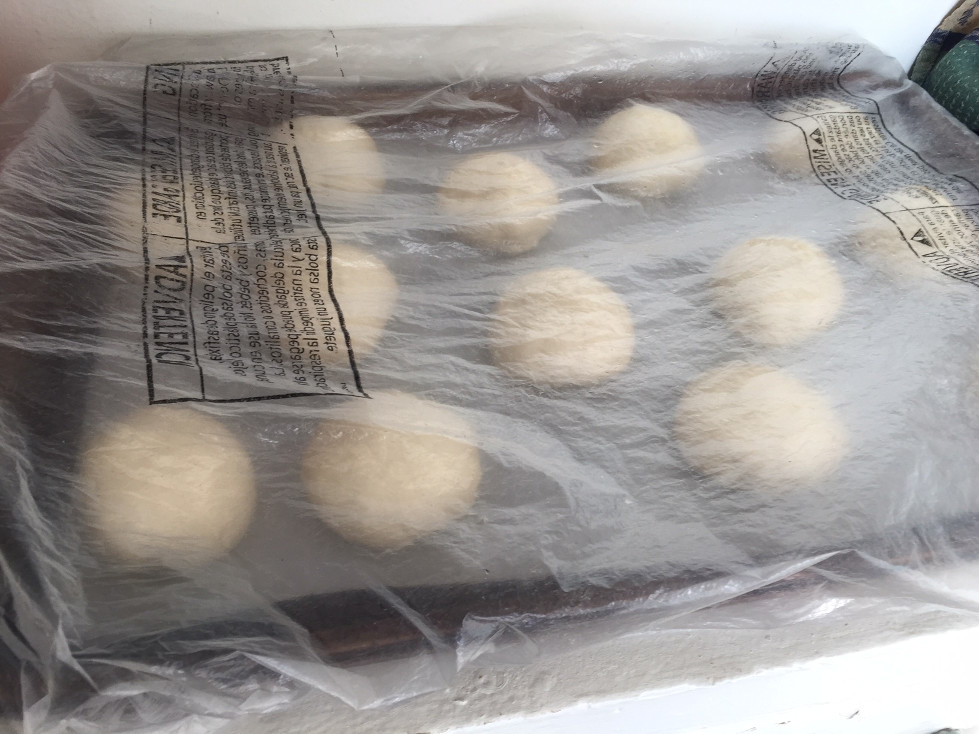
Step 10 Place the dough balls on a parchment-covered baking sheet and cover them. Allow them to rise at room temperature for 90 minutes before placing them into the refrigerator for 3 hours. They will spread out and flatten a little – that’s normal.
Step 11 At the end of this last rise, preheat the oven to 425 degrees F and set a roasting pan (or cast-iron skillet) on the bottom rack of the oven.
Step 12 Create your egg wash. Because we are going for a crunch exterior, you’ll want to use egg white and water, which is excellent for firmer crusts.
Note: If you don’t care about the level of crunch on the exterior, you can also use a whole egg and substitute milk instead of water, which will give you a deeper color and more shine.
Step 13 Boil enough water to cover the roasting pan or skillet in about an inch of water.
Step 14 Brush your egg wash on the top of your hard rolls and then slash them. The semi-deep cuts will keep your tops from cracking and allow the rolls to expand in the oven.
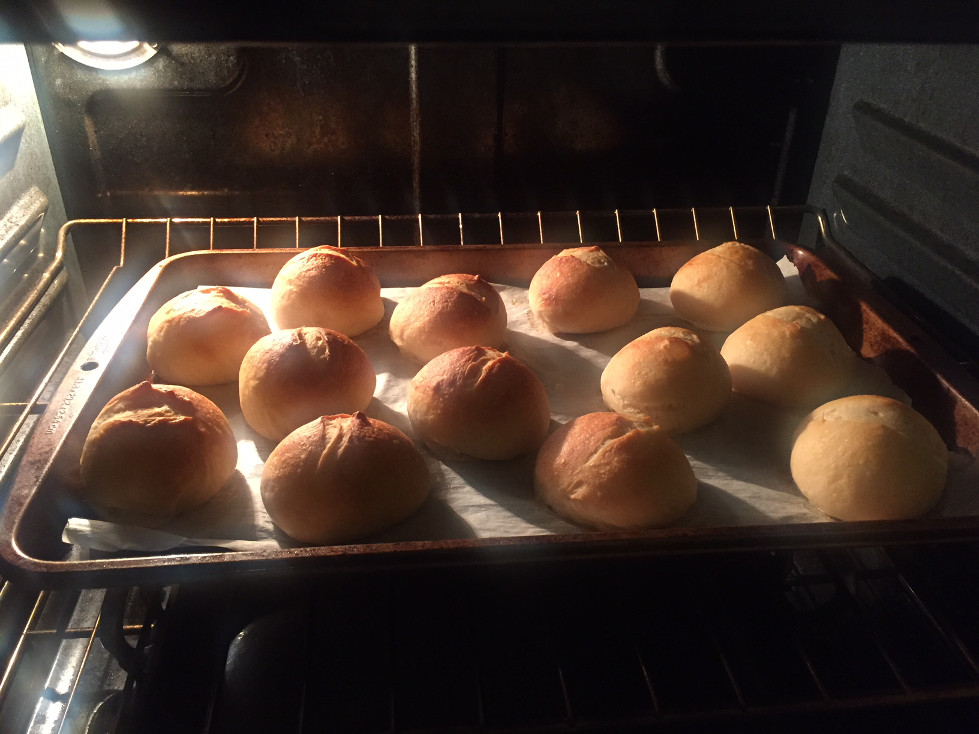
Step 15 Put the hard rolls in the oven. Fill the hot roasting pan with water and quickly close the door to trap the steam for the entire bake. Bake for approximately 20 minutes — you want them to be a golden brown color.
Step 16 Cool the hard rolls in the oven by propping the door slightly open using a kitchen spoon for about 5 minutes. (yes, I did learn that trick on the Great British Bake Off!)
Step 17 Complete their cooling by transferring the hard rolls onto a cooling rack. Rejoice about not burning yourself – I was not so lucky with the focaccia I made the other day.
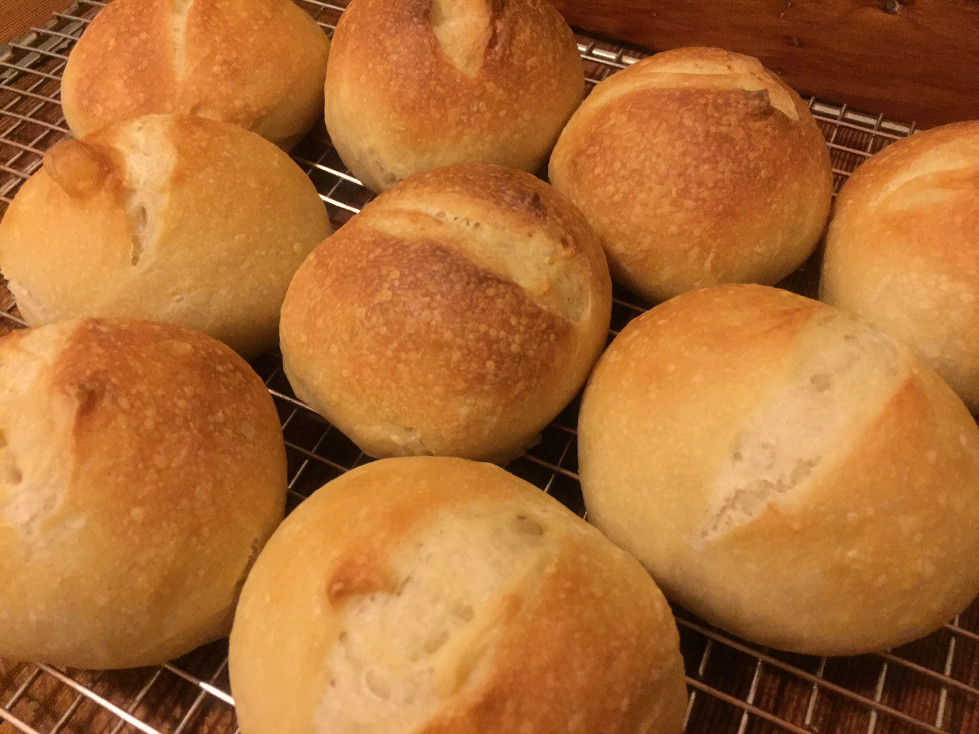
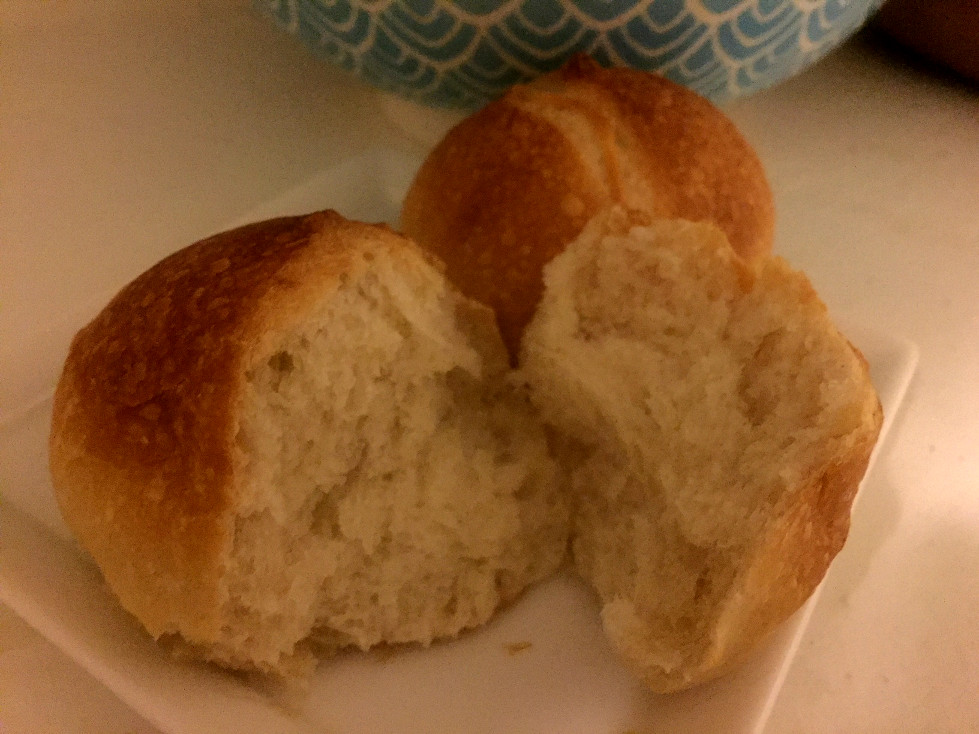
Step 18 Serve slightly warm with butter, jam, eggs, gravy, whatever. We plan on having these with everything from Christmas dinner to New Year’s Day breakfast. Yum!!!
For more food and wine recipes and discoveries, click here.