This easy chocolate truffles recipe may be one of my favorite Valentine’s Day dessert ideas ever. They have two main ingredients (two!), but you can dress them up any way you want, and they will come out beautifully. I’m not going to lie; they are messy to make. BUT so worth it. The secret is in the chocolate. So, it’s time to splurge for the ultimate chocolate truffles!
Chocolate Truffles Recipe Ingredients for a Batch of 10 Truffles
113 Grams of Shaved Chocolate Per Batch (Note: I used Callebaut Bittersweet Chocolate)
80 ML Heavy Whipping Cream
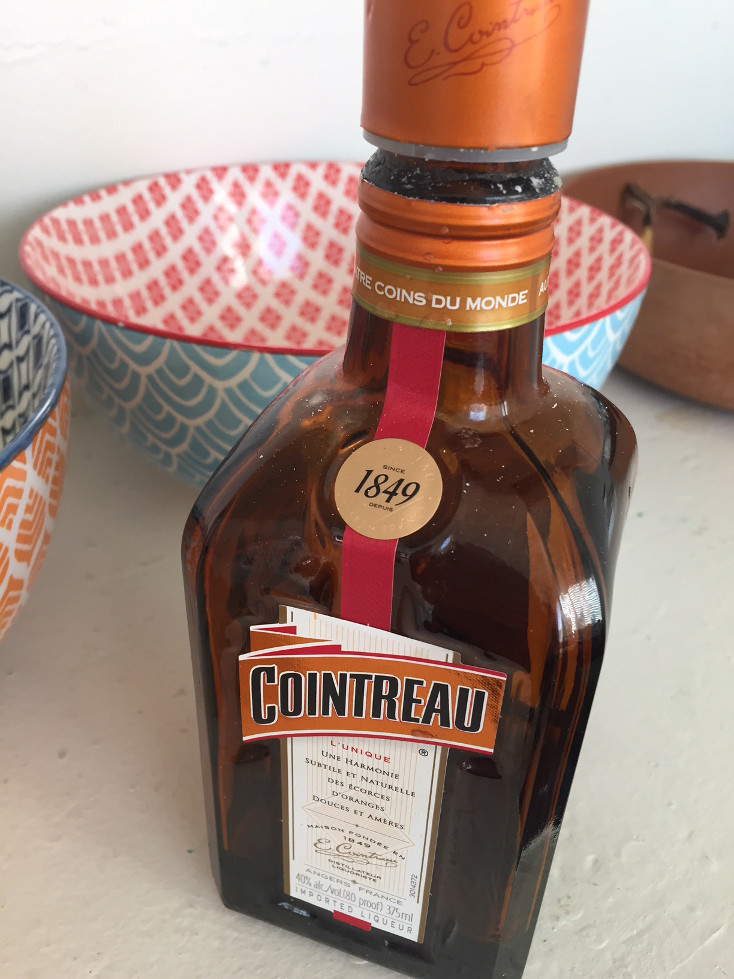
Optional Truffles Ingredients
½ Teaspoon Butter
1-2 Tablespoons Cointreau Liqueur or ½ Teaspoon Double Strength Vanilla Extract (I used Penzeys)
Toppings (Really, anything you’d like to cover your truffles)
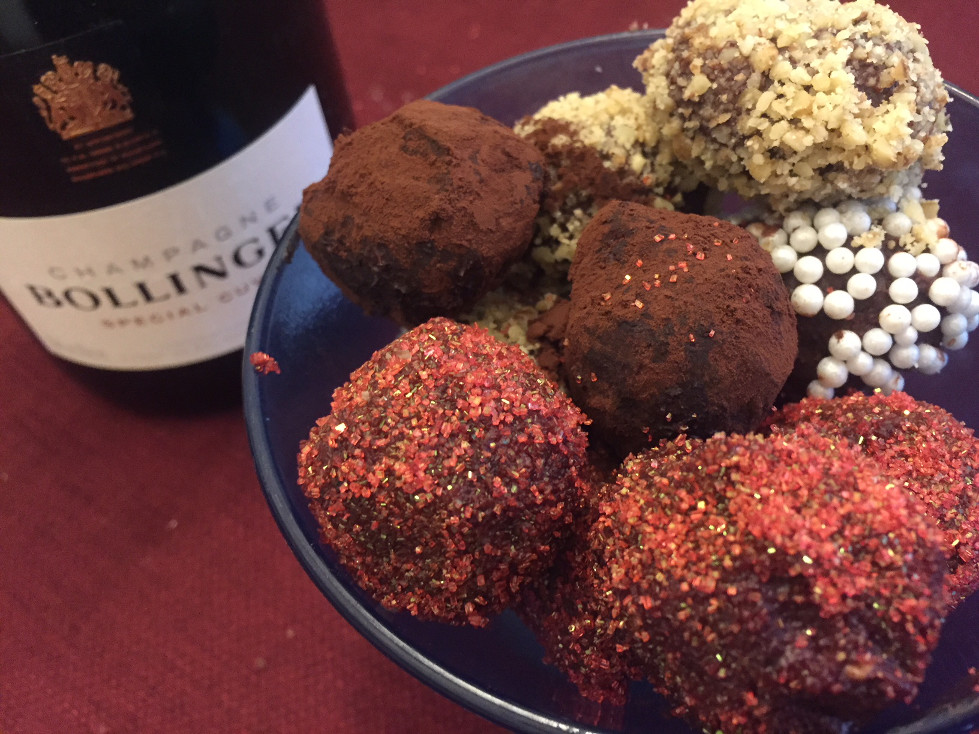
Note: I used Red Sanding Sugar, Valrhona Unsweetened 100% Cocoa Powder, Raw California Baking Walnut Pieces from Trader Joe’s, and Sugar Pearls
Optional Recipe Equipment
Unpowdered Kitchen Gloves
Ice Cream Scoop
Easy Chocolate Truffle Recipe Steps
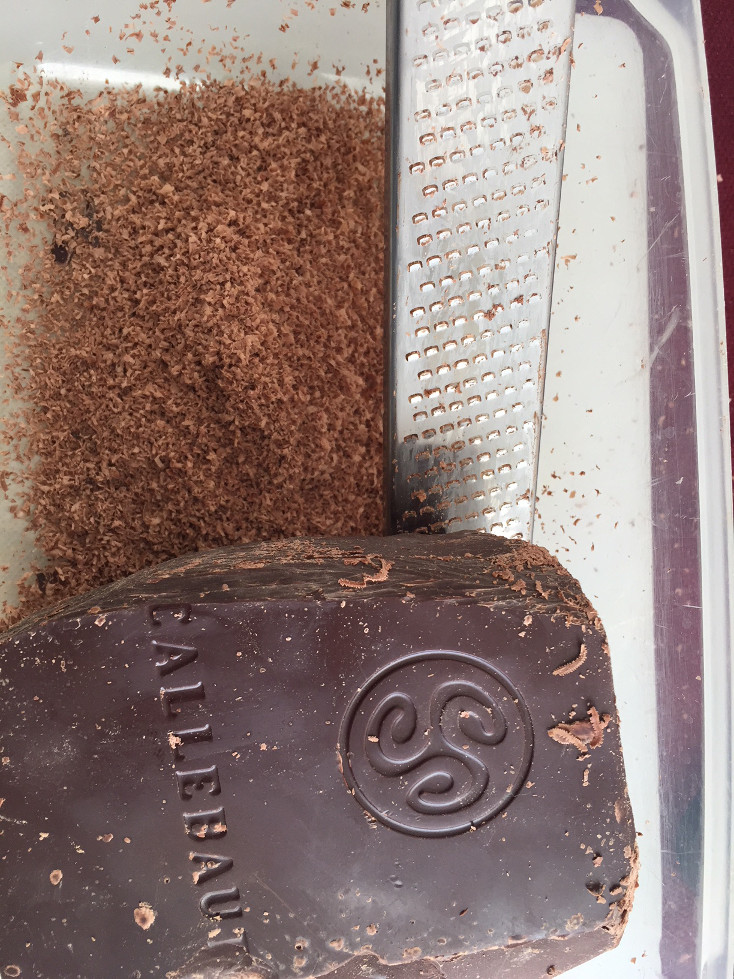
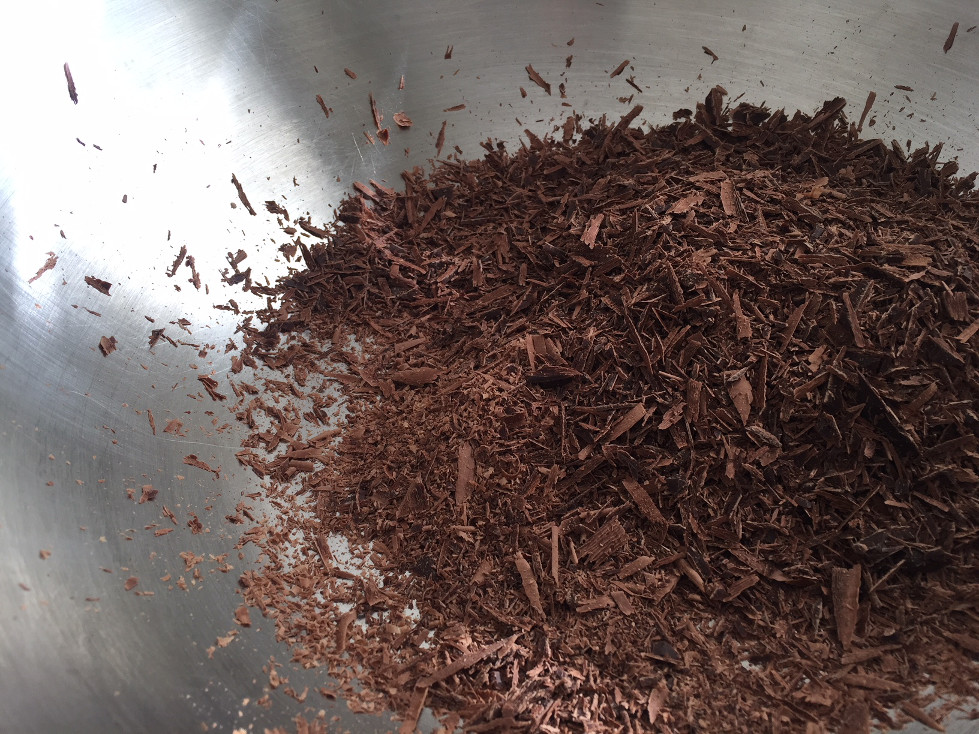
Step 1 Shave 113 grams of chocolate into a heat-proof bowl using a paring knife.
Note: I started with two different microplane tools to grate the chocolate, but it was going to take forever, and the flakes kept flying around, making a mess. Shaving the chocolate off into curls with a paring knife was faster, and the pieces were still thin enough to melt evenly and quickly. You can also chop the chocolate, but you’ll have to chop it into very fine pieces, and the chocolate may start melting the more you work it.
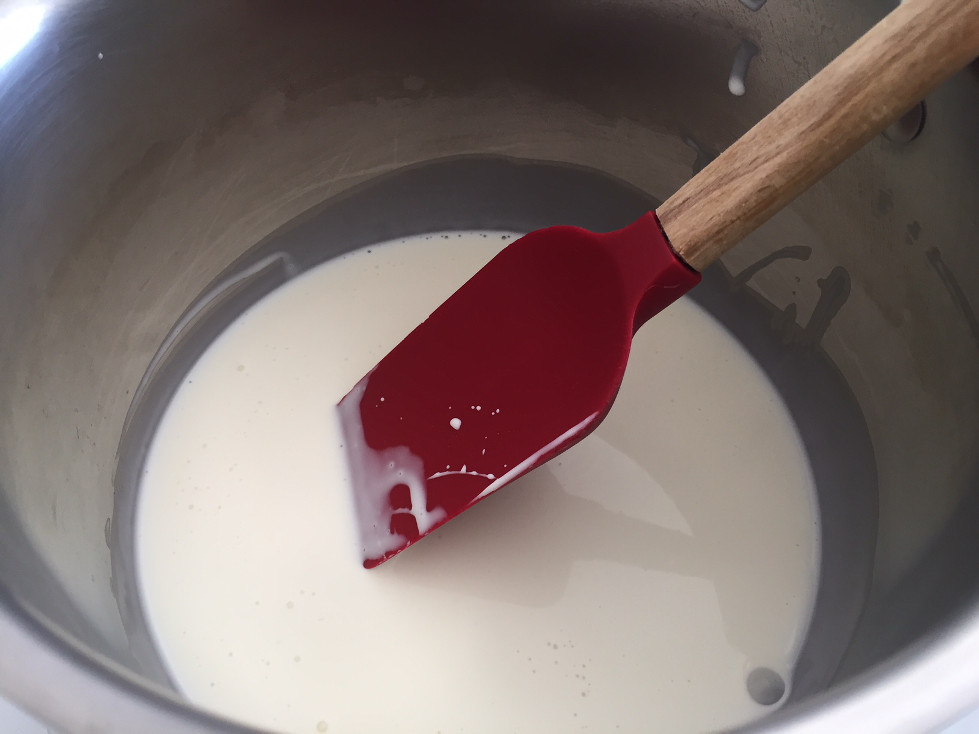
Step 2 Heat the heavy whipping cream on the stove until lightly bubbling. Take care not to scald it.
Step 3 I added a ½ teaspoon of butter to each batch to make the truffles creamier. You don’t have to do this step. But if you do, place the butter on top of the shavings.
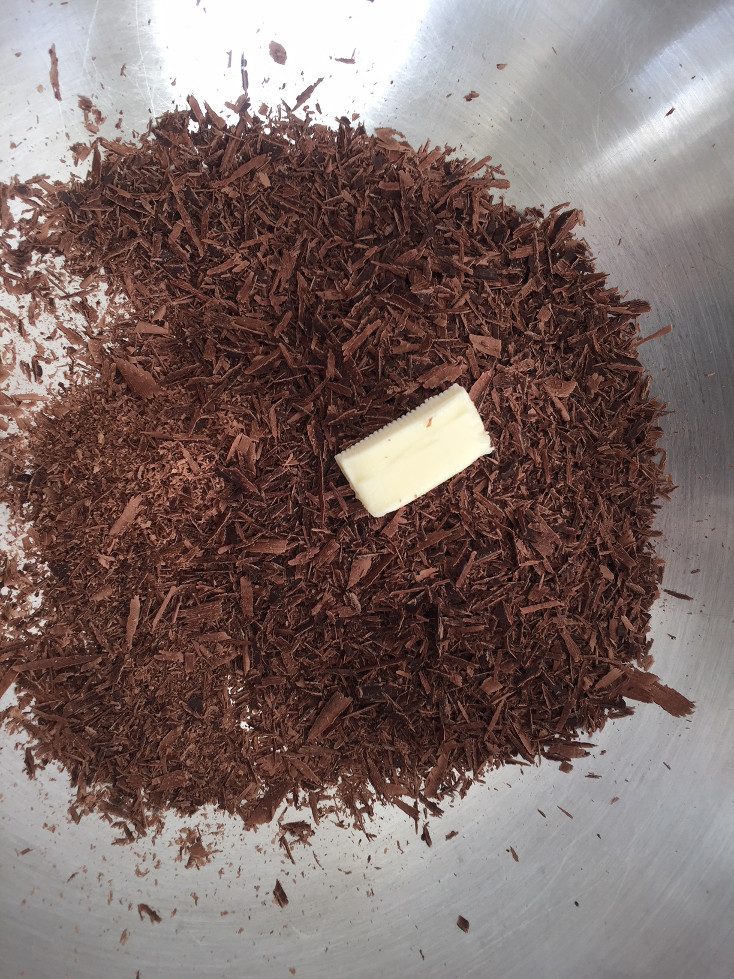
Step 4 Pour the warm heavy whipping cream over the butter and the chocolate shavings. Let the mixture sit for 2-3 minutes to allow the butter to completely melt before stirring, if you used it.
Step 5 Stir the mixture together. Then, add 1-2 tablespoons of the Cointreau and blend. If you are using vanilla extract, add a ½ teaspoon of the vanilla and blend thoroughly.
Note: In my first batch, I only used 1 tablespoon of the liqueur, and the Cointreau didn’t really come through, so I suggest going for the 2 tablespoons to get the orange flavor.
Step 6 Once all the ingredients have been blended together, you can pour the batch into a couple of shallow dishes (or baking pans, etc) so that the mixture will evenly set.
Note: Having more than one bowl prepared also makes it easier to work with the toppings later because you’ll be able to keep some of the chocolate cold in the refrigerator as you shape each truffle.
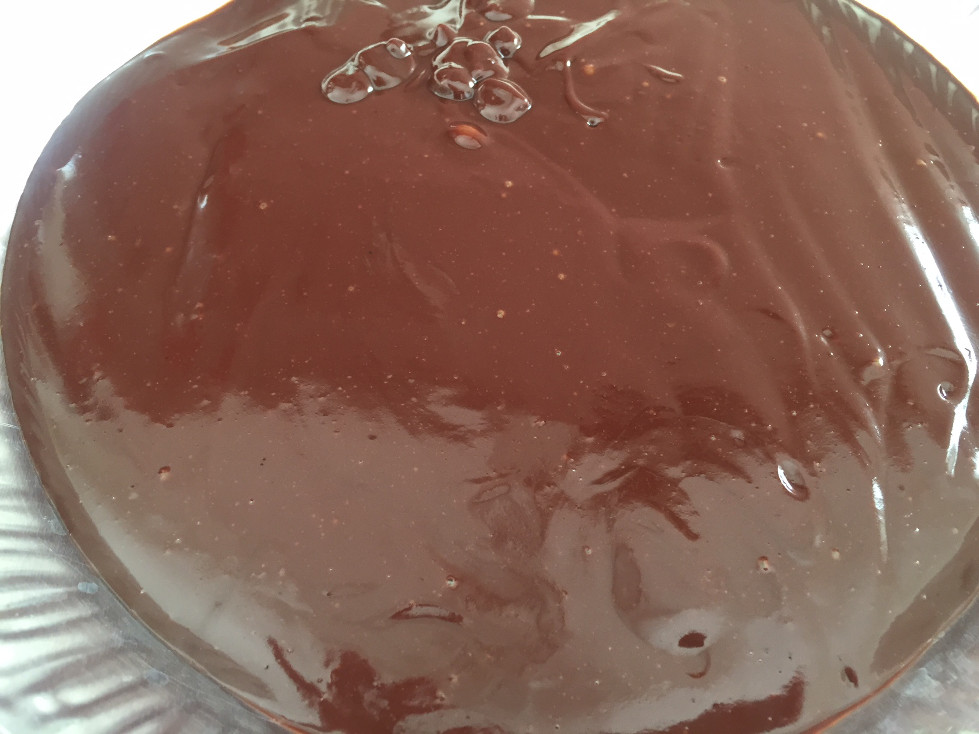
Step 7 Put the bowls into the refrigerator for 2 hours.
Note: I used cling film laid directly onto the chocolate to keep out debris and avoid possible condensation issues from having warm chocolate put into the cold refrigerator. Don’t worry about the air bubbles.
Step 8 Prepare dishes with your recipe toppings. For me, this meant blitzing the walnuts in a food processor and laying out the sanding sugar and cocoa powder.
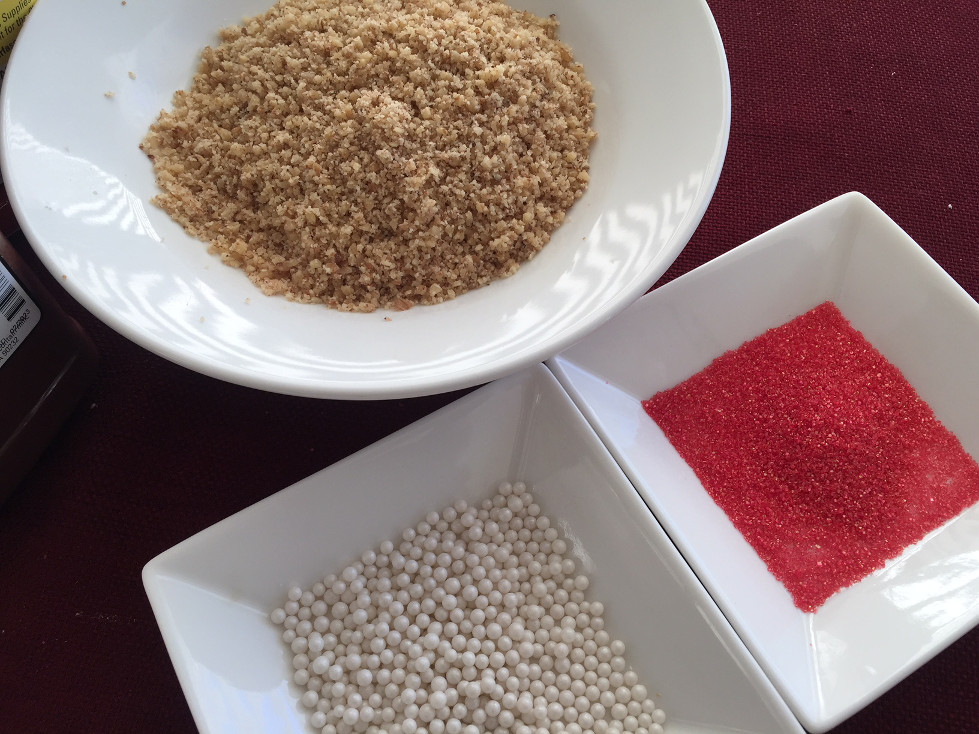
Step 9 If possible, put on unpowdered kitchen gloves and have more ready. Forming the balls gets very messy because the chocolate will start melting as you roll it.
Step 10 Pull your first batch of truffle mixture from the refrigerator. Using an ice cream scoop (or tablespoon), scoop out a small mound of truffle mixture (the size is up to you – go small for lots of options or larger for more truffle goodness).
Step 11 Roll the scooped truffle mixture into a ball and then roll the ball into your toppings. To get an even coating, you may need to sprinkle some of the toppings over the ball. Place them onto a serving dish.
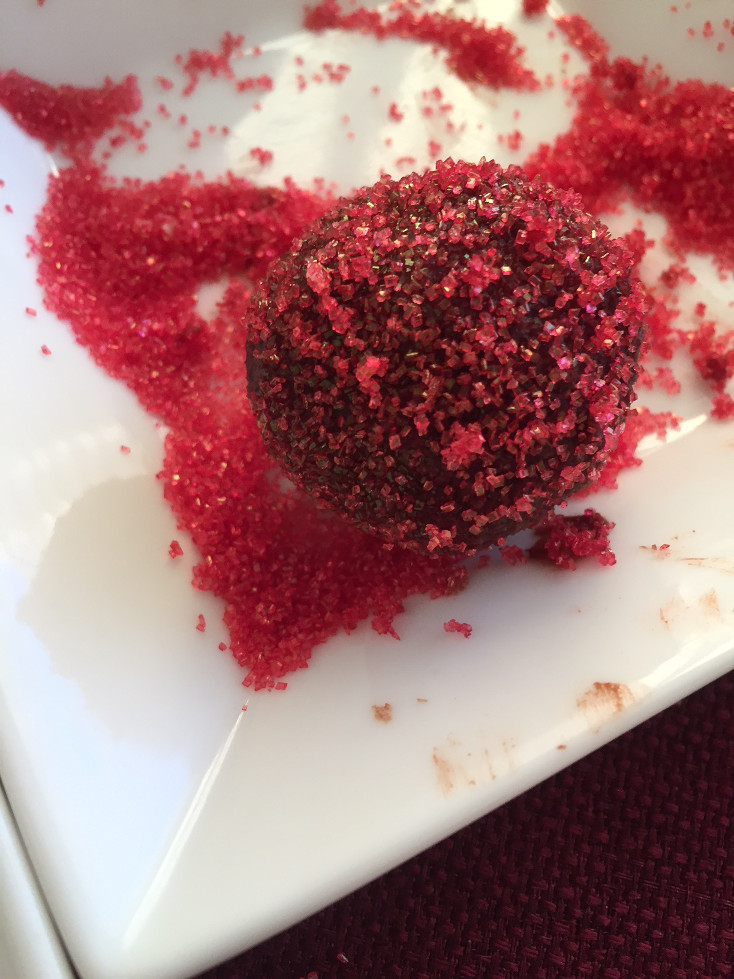
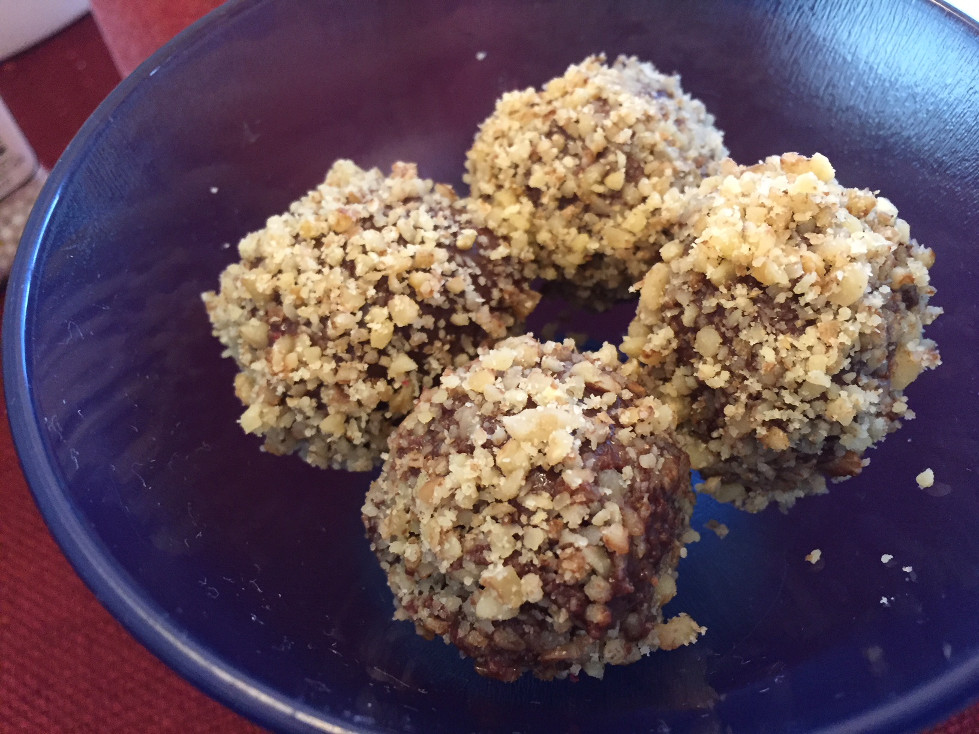
Step 12 Repeat this process with the rest of the batches you prepared, keeping the unused chocolate truffle mixture in the refrigerator as much as possible. However, it is best to let them warm up a little bit when serving.
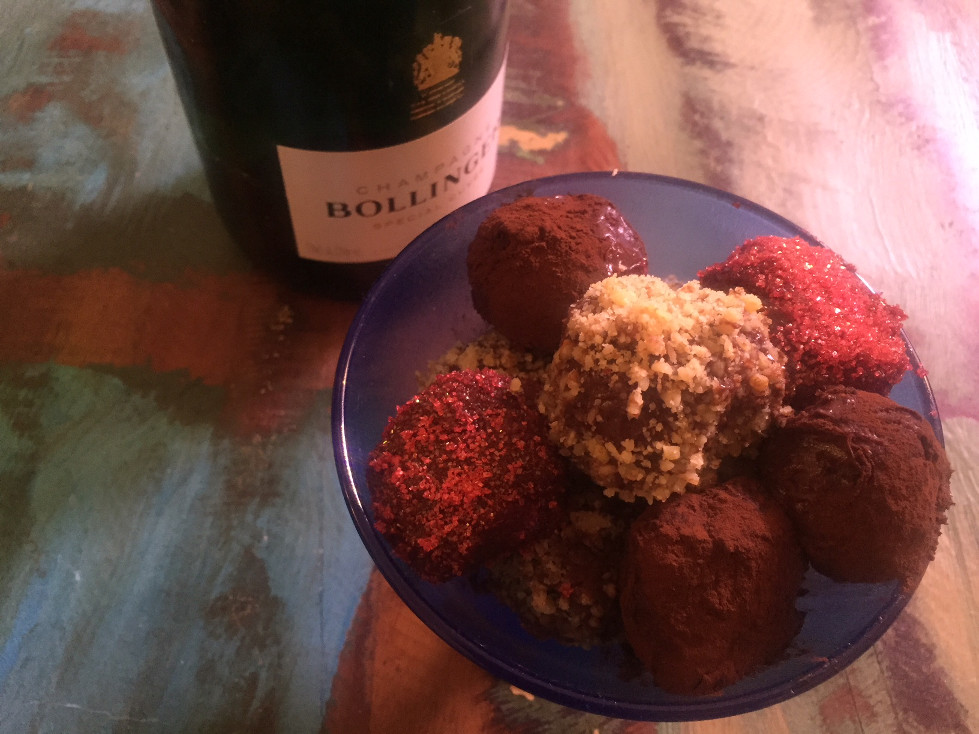
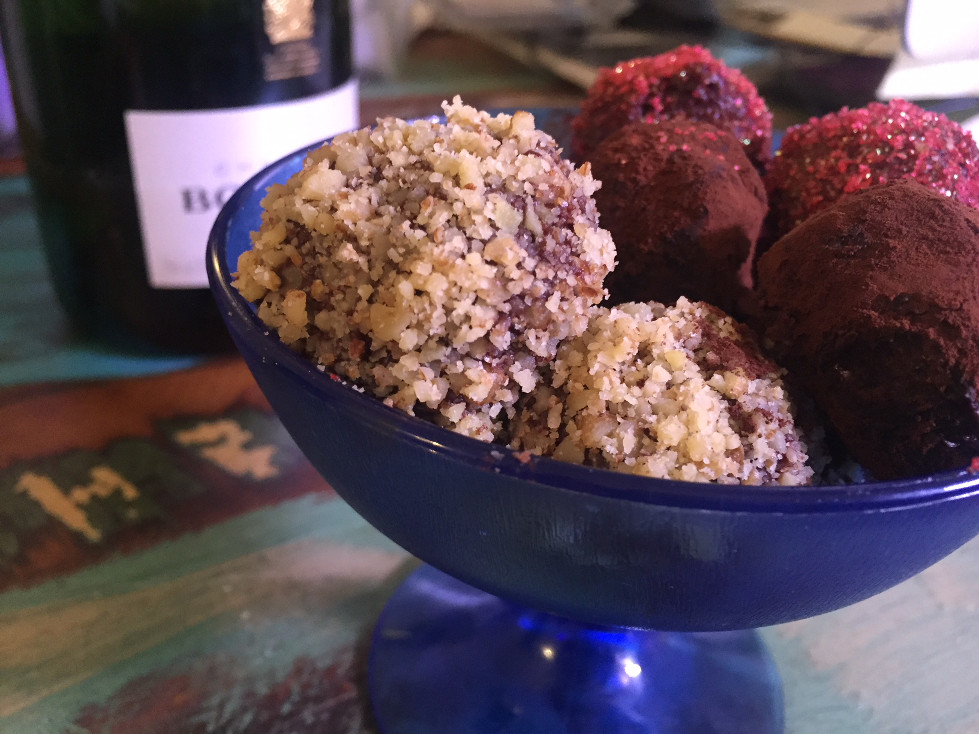
Step 13 This easy chocolate truffles recipe can make up to 10 truffles per batch, depending on your scoops, of course. You can store them on the counter for a couple of days or keep them in an air-tight container in the refrigerator for about 10 days. Of course, these truffles are so good, the hardest part is not eating this decadent dessert before Valentine’s Day.
For more food and wine recipes and discoveries, click here.
As you may know, I’m excited to be one of Google’s paid early testers for their Thank with Google pilot program. Thank with Google is an experimental feature that allows you to purchase a virtual sticker and directly show your appreciation for content on my website. As a loyal supporter, you can now feel more connected and engaged because you have the ability to express yourself and share what my work means to you.
I have loved seeing the variety of stickers and messages my readers have selected to date. And remember, every time you send a paid sticker, you can add a personal message which I enjoy receiving. For me, these virtual stickers translate into direct revenue to support the work that goes into the content that you are enjoying on my blog.
You can find the Thank with Google feature in multiple places on my site, including in my sidebar. If you try it out, let me know what you think! Thanks as always for your support.
Patricia