I have been looking for an easy brioche bread recipe since I made my move to start baking bread about 18 months ago. And while I made a critical mistake the first time around, this recipe still produced a tasty loaf of brioche that we happily devoured. The second time was much better on all fronts. Read on for the brioche recipe details and tips for how to avoid my mistakes.
Note: This recipe makes a bread-life brioche loaf instead of a pastry-like brioche loaf. Be sure that is what you want before you start mixing.
Brioche Bread Recipe Ingredients
78 Grams of Whole Milk
128 Grams of Whole Eggs
36 Grams of Sugar
3 Grams of Instant Yeast
100 Grams of Very Soft (Not Melted) Unsalted Butter
300 Grams of All-Purpose King Arthur Flour
7 Grams of Salt
Cooking Spray or Extra Butter to Grease Loaf Pan
Egg Wash Ingredients
1 Egg Yolk
1 Teaspoon Milk
Brioche Recipe Steps
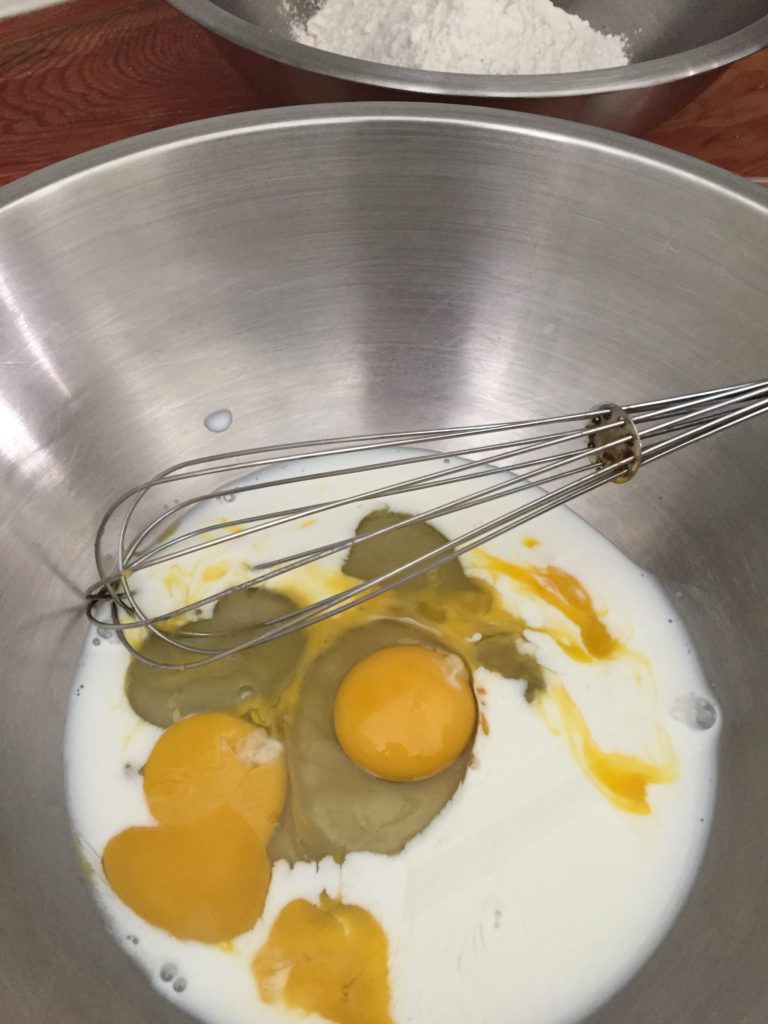
Step 1. Whisk milk, eggs, sugar, instant yeast, and soft butter in a mixing bowl.
Step 2. In another bowl, sift flour and salt together.
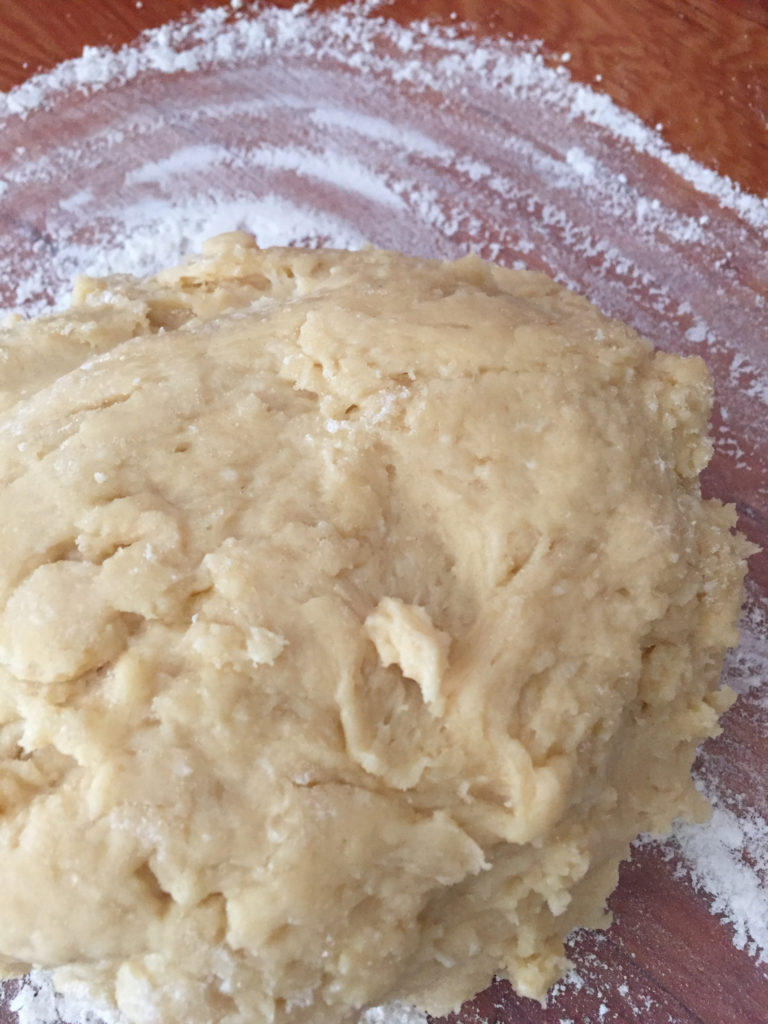
Step 3. Gently pour the combined flour and salt over the wet mixture and let it sit for a moment.
Step 4. Using your hands, mix the wet and dry ingredients together. The dough is going to be very wet – far wetter than a typical rustic loaf.
Step 5. Cover the wet dough for 30 minutes with a floured towel to allow for absorption.
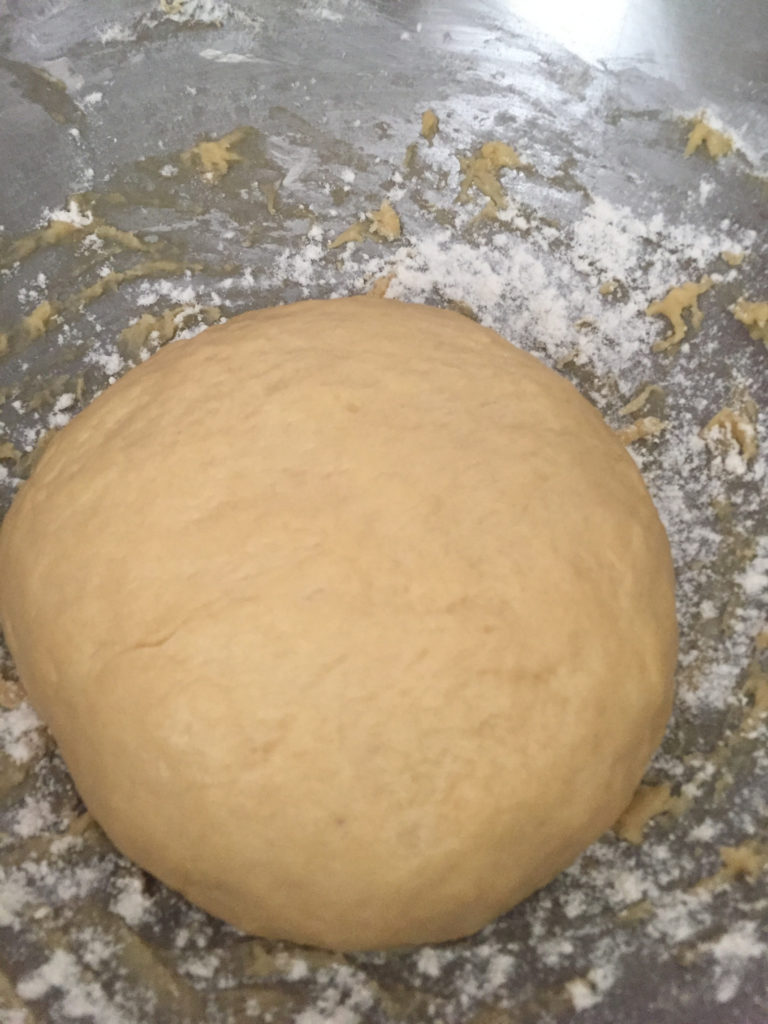
Step 6. Generously flour your workspace and turn the dough out onto it for kneading. Push and fold the dough (12 o’clock to 6 o’clock, 3 o’clock to 9 o’clock) over and over again for approximately 7 to 10 minutes. You’ll notice how much smoother the dough is before you set it to rise.
Step 7. Put the dough into the bowl. Place the bowl into a plastic bag and seal it. Note: I just knot the ends – no need to purchase a special bag. Let it sit on the counter for 90 minutes to 2 hours, depending on how cold your kitchen is at the time of the rise.
Step 8. Grease your loaf pan.
Step 9. Gently turn out dough and complete a letter fold (stretching the top of the dough to the middle and bringing the bottom of the dough up to the middle to meet it – forming a seam.
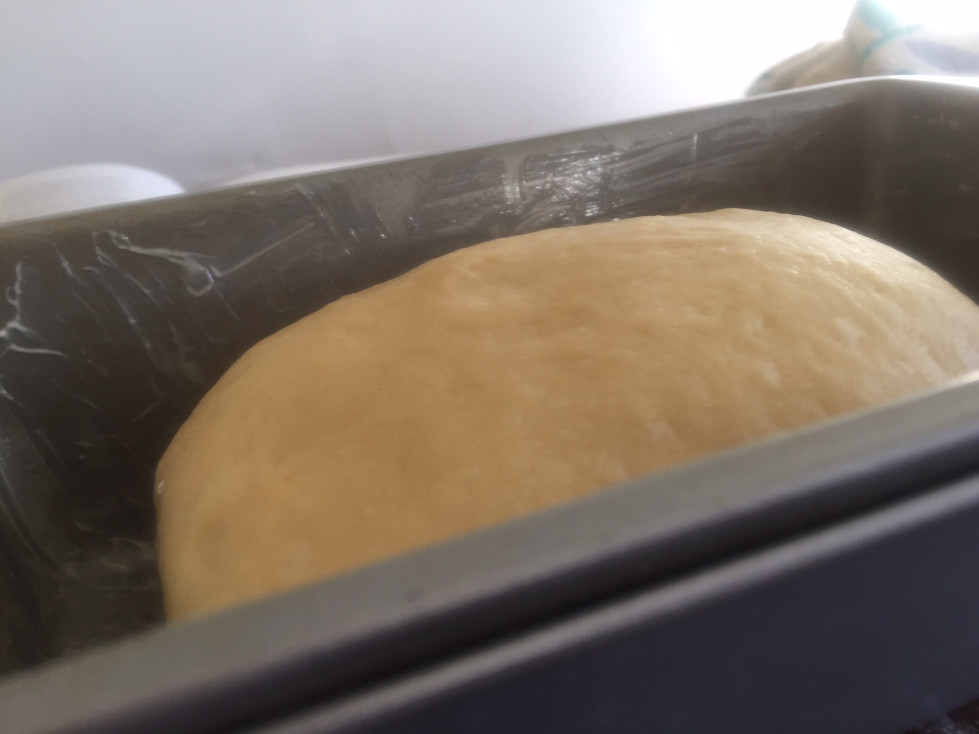
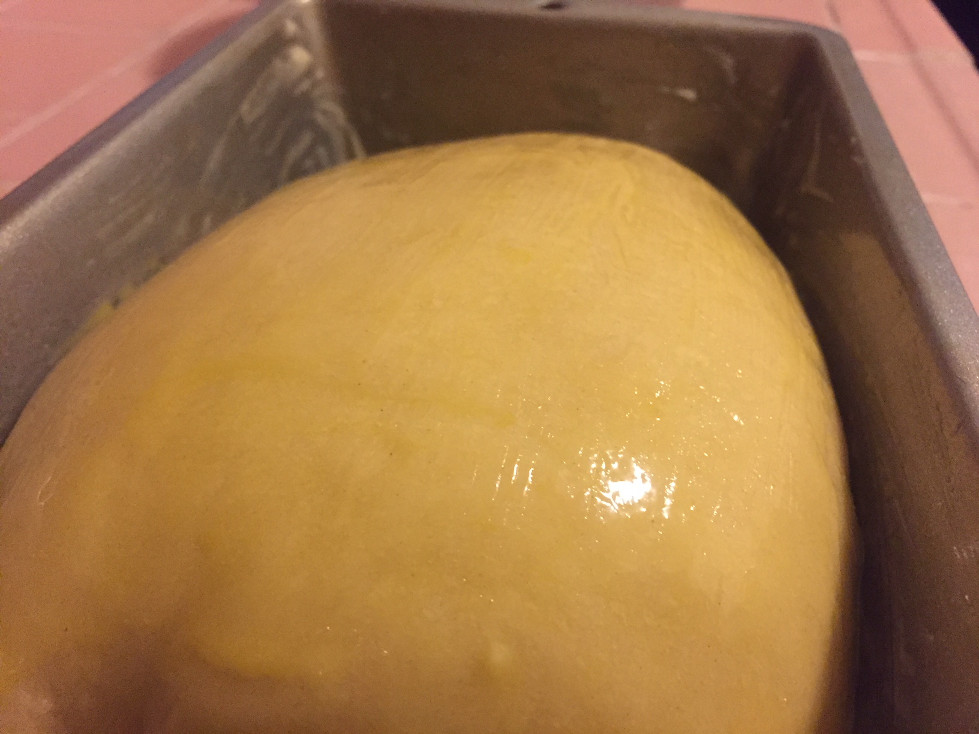
Step 10. Place your folded dough seam-side down into the loaf pan. This is critical. This is the part I did wrong the first time – if you leave it seam-side up, the loaf won’t proof correctly, and it will result in a denser loaf.
Step 11. Let the dough proof for 90 minutes uncovered. You will know it is done when the top of the bread begins to rise above the edges of the pan. You’ll see that the top looks relatively airy.

Step 12. Begin pre-heating the oven at 375 degrees while you are proofing the dough.
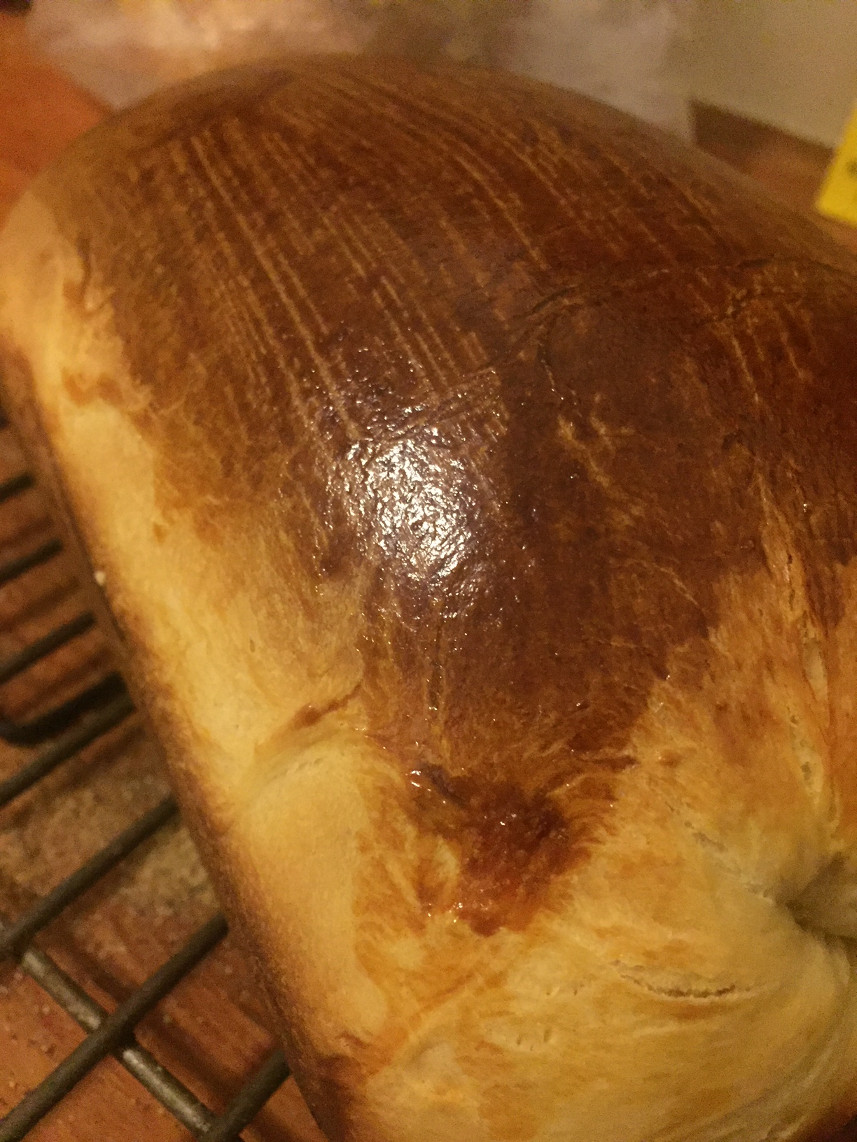
Step 13. Create your egg wash.
Step 14. Once the proof is finished, gently brush your egg wash onto the loaf. Generously cover the top and sides.
Step 15. Bake for approximately 20-25 minutes.
Step 16. Let the loaf cool in the pan for the first 10 minutes. Then remove the bread from the pan and finish cooling it for another 25-30 minutes to set the crumb.


Enjoy!
